
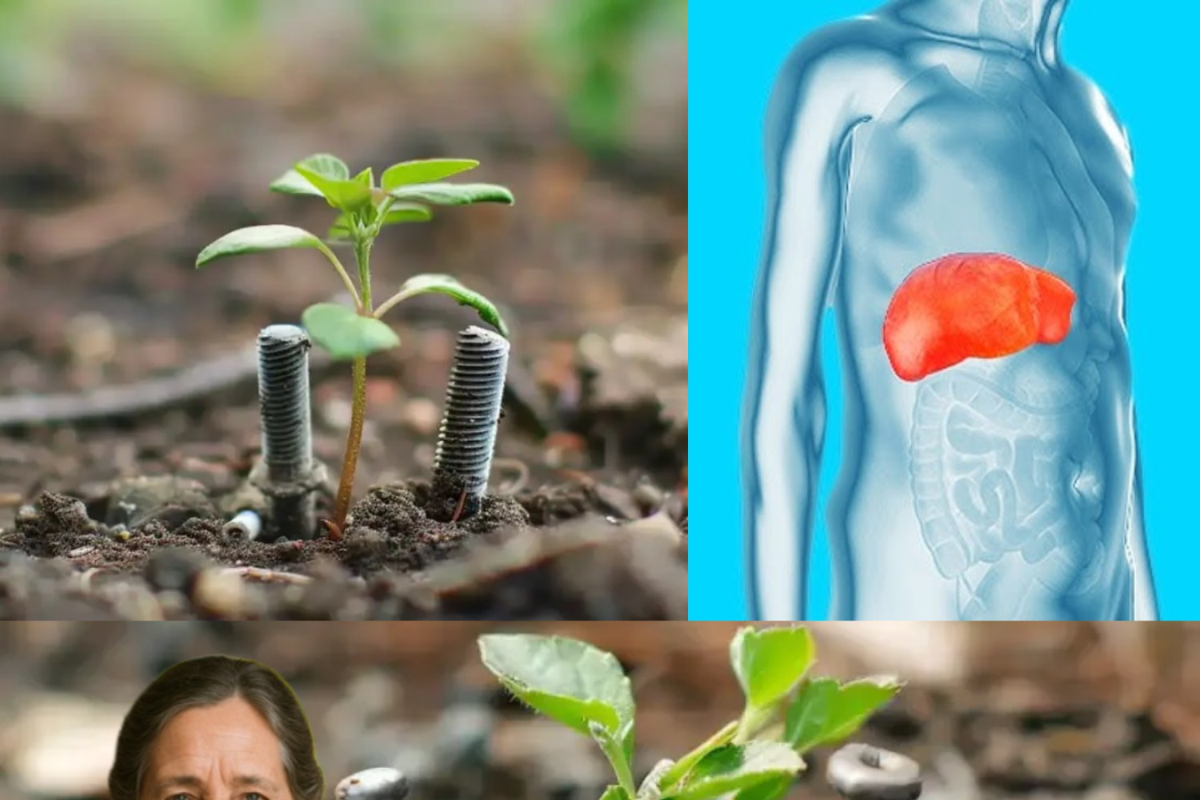
Enhance Plant Growth Naturally with Iron Nails: A Powerful Guide for Gardeners
Many home gardeners are turning to simple, natural solutions to improve plant health—and one surprisingly effective method is the use of iron nails in soil. Though it may sound like folklore, this technique has scientific merit and can genuinely support plant vitality when used correctly. Let’s take a deeper look at how and why iron nails can benefit your garden—and how to apply the method safely and effectively.
1. Why Iron Matters for Plants
Iron is a micronutrient essential for plant development. It plays a key role in:
Chlorophyll production, which impacts leaf color and photosynthesis.
Enzyme function that influences respiration and energy transfer.
Oxygen transport within plant tissues.
When soil lacks bioavailable iron—especially in alkaline or compacted soils—plants may suffer from iron chlorosis, seen as yellowing leaves with green veins. Iron nails can help restore balance naturally.

2. How Iron Nails Work in Soil
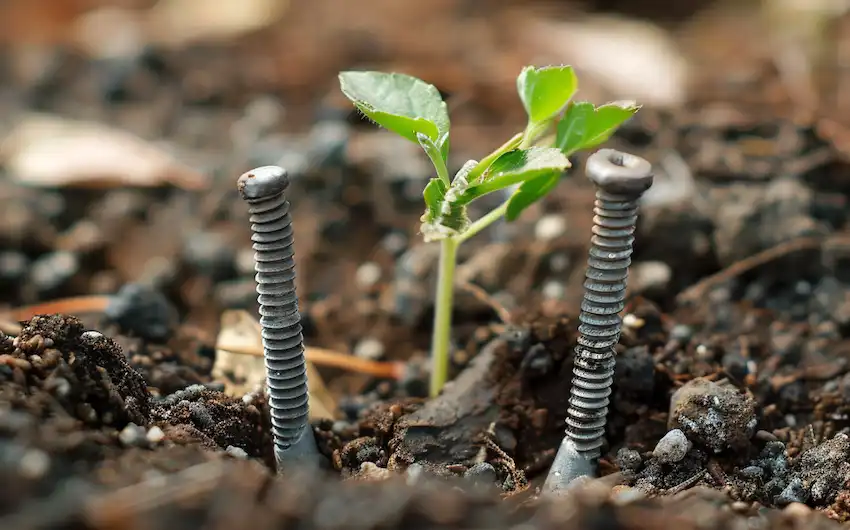
When you insert untreated iron nails into the soil, they gradually oxidize (rust) through exposure to moisture and oxygen. As they rust, they release iron ions (Fe²⁺ and Fe³⁺) into the soil in a form that plants can absorb through their roots. This slow, natural release helps supplement iron without the risk of over-fertilization.
3. Step-by-Step: How to Use Iron Nails in Your Garden
What You Need:
2–4 pure, uncoated iron nails per plant (avoid galvanized or painted nails)
A watering can or hose
(Optional) pH tester to check soil conditions
Instructions:
Step 1: Choose the Right Nails
Use old-fashioned iron nails, free of any rust-proof coatings. You can find these in hardware stores or repurpose old nails.
Step 2: Placement Is Key
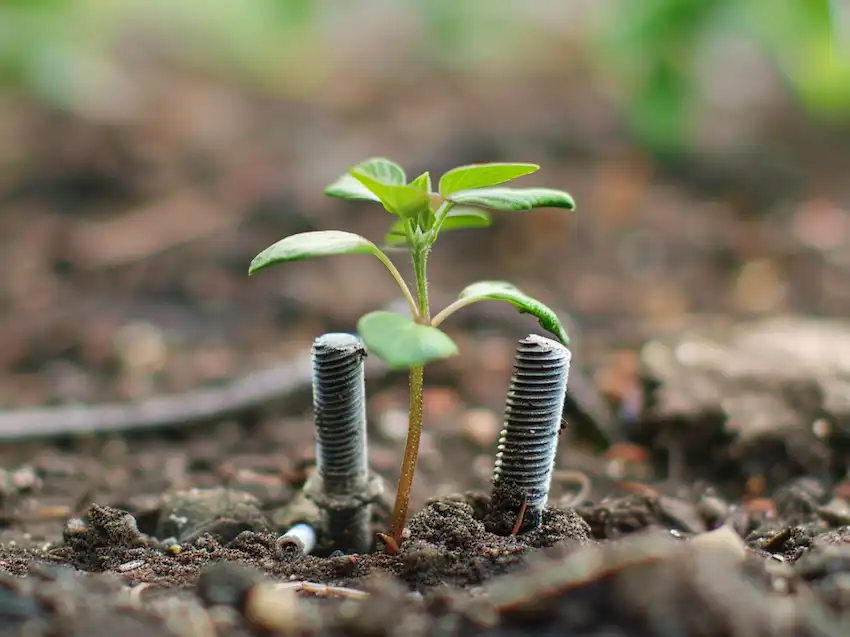
Push the nails vertically into the soil about 2–3 inches away from the plant stem. Bury them halfway to allow for airflow and contact with moisture.
Step 3: Encourage Rusting
Water the soil consistently—moisture accelerates the rusting process. For extra effect, slightly acidify the water using vinegar (1 teaspoon per liter) once a month to increase iron solubility.
Step 4: Monitor Progress
Check the nails every few weeks. If they aren’t rusting, they may be coated or the soil may be too dry. Look for greener leaves and sturdier growth as positive signs.
4. Plants That Benefit Most from Iron Supplementation
Certain plants are especially responsive to iron enrichment:
Roses – Known to suffer from chlorosis in poor soils
Tomatoes and Peppers – Heavy feeders that need strong nutrient support
Azaleas and Hydrangeas – Thrive in acidic, iron-rich soil
Strawberries and Blueberries – Prefer low pH and respond well to added iron
5. Important Considerations and Tips
Check Soil pH: Iron is most bioavailable in soils with a pH between 5.5 and 6.5. If your soil is alkaline, adding organic compost or sulfur can help lower the pH.
Don’t Overdo It: Excessive iron can lead to nutrient imbalances. Stick to 2–4 nails per plant and space them out.
Test First: For best results, perform a soil test before starting. This can help you understand if iron is truly deficient.
Rotate or Replace Nails: After a few months, replace old nails as they decompose or lose effectiveness.
6. Bonus Tip: Combine with Other Natural Remedies
To create a holistic, chemical-free garden system, pair the iron nail method with:
Crushed eggshells for calcium
Banana peels for potassium and phosphorus
Coffee grounds for nitrogen and acidity (helpful with iron uptake)
7. Final Thoughts
Using iron nails to enrich your soil is a low-cost, eco-friendly technique that blends simplicity with science. While it’s not a miracle cure, it provides steady iron support and can noticeably improve plant vigor—especially in plants vulnerable to nutrient deficiencies.
Try it in your garden, observe the results, and enjoy a healthier, greener landscape powered by nature.
