
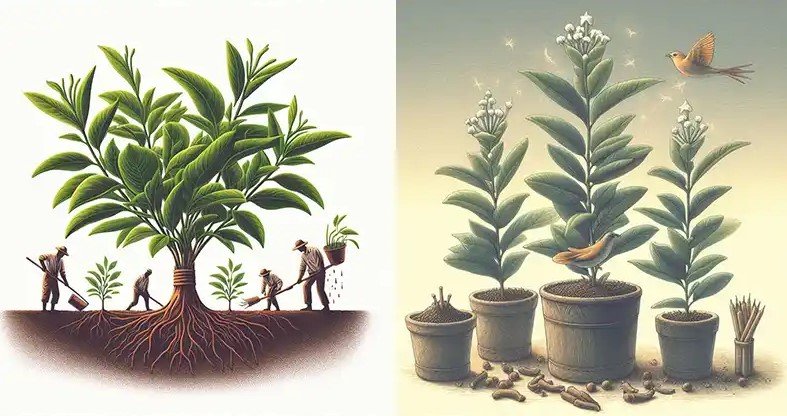
Cloves are among the world’s most cherished spices, celebrated for their fragrant aroma, medicinal benefits, and versatility in cooking. These aromatic buds come from the Syzygium aromaticum tree, which is originally native to Indonesia but can also be cultivated successfully in other warm, humid regions. Growing cloves requires patience and dedication, but the process is extremely gratifying, especially for spice enthusiasts who enjoy the idea of harvesting their own fresh cloves. This comprehensive guide covers everything you need to know to grow cloves from seed all the way to spice, right in the comfort of your own home.
1. Understanding the Clove Tree
The clove tree is an evergreen species that can grow up to 30 feet tall under ideal conditions. It flourishes in tropical and subtropical climates, thriving best in well-drained, loamy soils with high humidity levels. It’s important to understand that a clove tree does not immediately yield cloves; it takes approximately 5 to 7 years before the tree begins to flower and produce the characteristic buds. However, once mature, a healthy clove tree can consistently produce fragrant buds for many decades, making the wait worthwhile.
2. Getting Clove Seeds
Obtaining viable clove seeds can be challenging because they are not commonly sold in gardening centers and rapidly lose viability after harvest. For the best germination results, it is recommended to buy fresh seeds directly from a reputable nursery or harvest them yourself from ripe clove fruits if you have access to a mature tree. To maximize germination success, plant the seeds immediately—typically within a few days after collection—as their viability diminishes quickly when stored.
Important tip: The dried cloves you find in stores—the spice used in cooking—are not seeds and cannot be planted to grow a clove tree. Only fresh seeds from clove fruits will germinate.
3. How to Plant Clove Seeds
Begin growing your clove seeds in small pots or seed trays. Follow these detailed instructions to give them the best start:
- Soil mix: Use a rich, loamy soil blend with excellent drainage. Incorporating compost or aged manure will improve soil fertility and support seedling growth.
- Planting depth: Sow each seed approximately 1/2 inch beneath the soil surface and gently cover it.
- Watering: Maintain consistent moisture in the soil, ensuring it is damp but not waterlogged.
- Temperature: Seeds germinate optimally when kept between 75 to 85°F (24 to 29°C).
- Light: Position the pots in partial shade, avoiding direct sunlight until seedlings mature.
The germination period can range from 4 to 6 weeks, so patience is essential. Clove seeds take their time to sprout but will reward you with healthy seedlings.
4. Transplanting and Growing
When seedlings have grown to about 6 inches tall and possess at least two sets of leaves, they are ready to be transplanted into larger containers or planted outdoors if the climate is suitable.
Choosing the right site is crucial for optimal growth:
- Select an area that provides partial shade or filtered sunlight to protect young plants.
- Ensure the soil is well-drained and enriched with organic material.
- If planting multiple trees, maintain a spacing of at least 20 feet to allow sufficient room for growth.
Keep the soil consistently moist, especially during dry spells. Applying mulch around the base of your trees helps conserve moisture and reduce weed competition.
5. Clove Tree Care
Once established, clove trees require relatively low maintenance but have some basic care needs to ensure healthy development:
- Watering: Regular and thorough watering is vital, particularly during flowering and bud development phases.
- Fertilizing: Feed your clove tree with a balanced organic fertilizer every 2 to 3 months to provide essential nutrients.
- Pruning: Conduct light pruning to remove dead or overcrowded branches, encouraging a strong and well-shaped canopy.
- Protection: Maintain vigilance against pests such as scale insects and mitigate fungal diseases, especially given the tree’s preference for humid environments.
6. Harvesting Cloves
You should harvest cloves when the flower buds are still unopened. The ideal harvesting time is signaled by the buds changing color—from green to a pale pink hue. This stage indicates peak aroma and flavor development.
- Harvesting method: Carefully snap off the buds by hand or use small garden shears to avoid damaging the tree.
- Drying process: Spread the harvested buds out in a single layer in a dry, shaded location with good air circulation. Turn the buds daily to ensure even drying. They are fully dried when they become dark brown, hard to the touch, and emit a strong, unmistakable clove fragrance.
7. Storing and Using Cloves
Once fully dried, store your cloves in an airtight container kept away from light and moisture. Properly stored cloves can retain their rich flavor and aroma for over a year, enabling you to enjoy them long-term.
In the kitchen, your homegrown cloves can be used to enhance teas, desserts, savory dishes, and even home remedies for ailments like colds and toothaches. There’s a unique joy and satisfaction in cooking with a spice you’ve nurtured yourself.
Final Thoughts
Growing cloves is certainly a long-term commitment, but it’s a fascinating and immensely rewarding journey—from planting small seeds to harvesting fragrant spice buds. With the right conditions, care, and patience, you can successfully cultivate your own clove tree, adding an exotic and aromatic dimension to your garden and culinary creations.
