
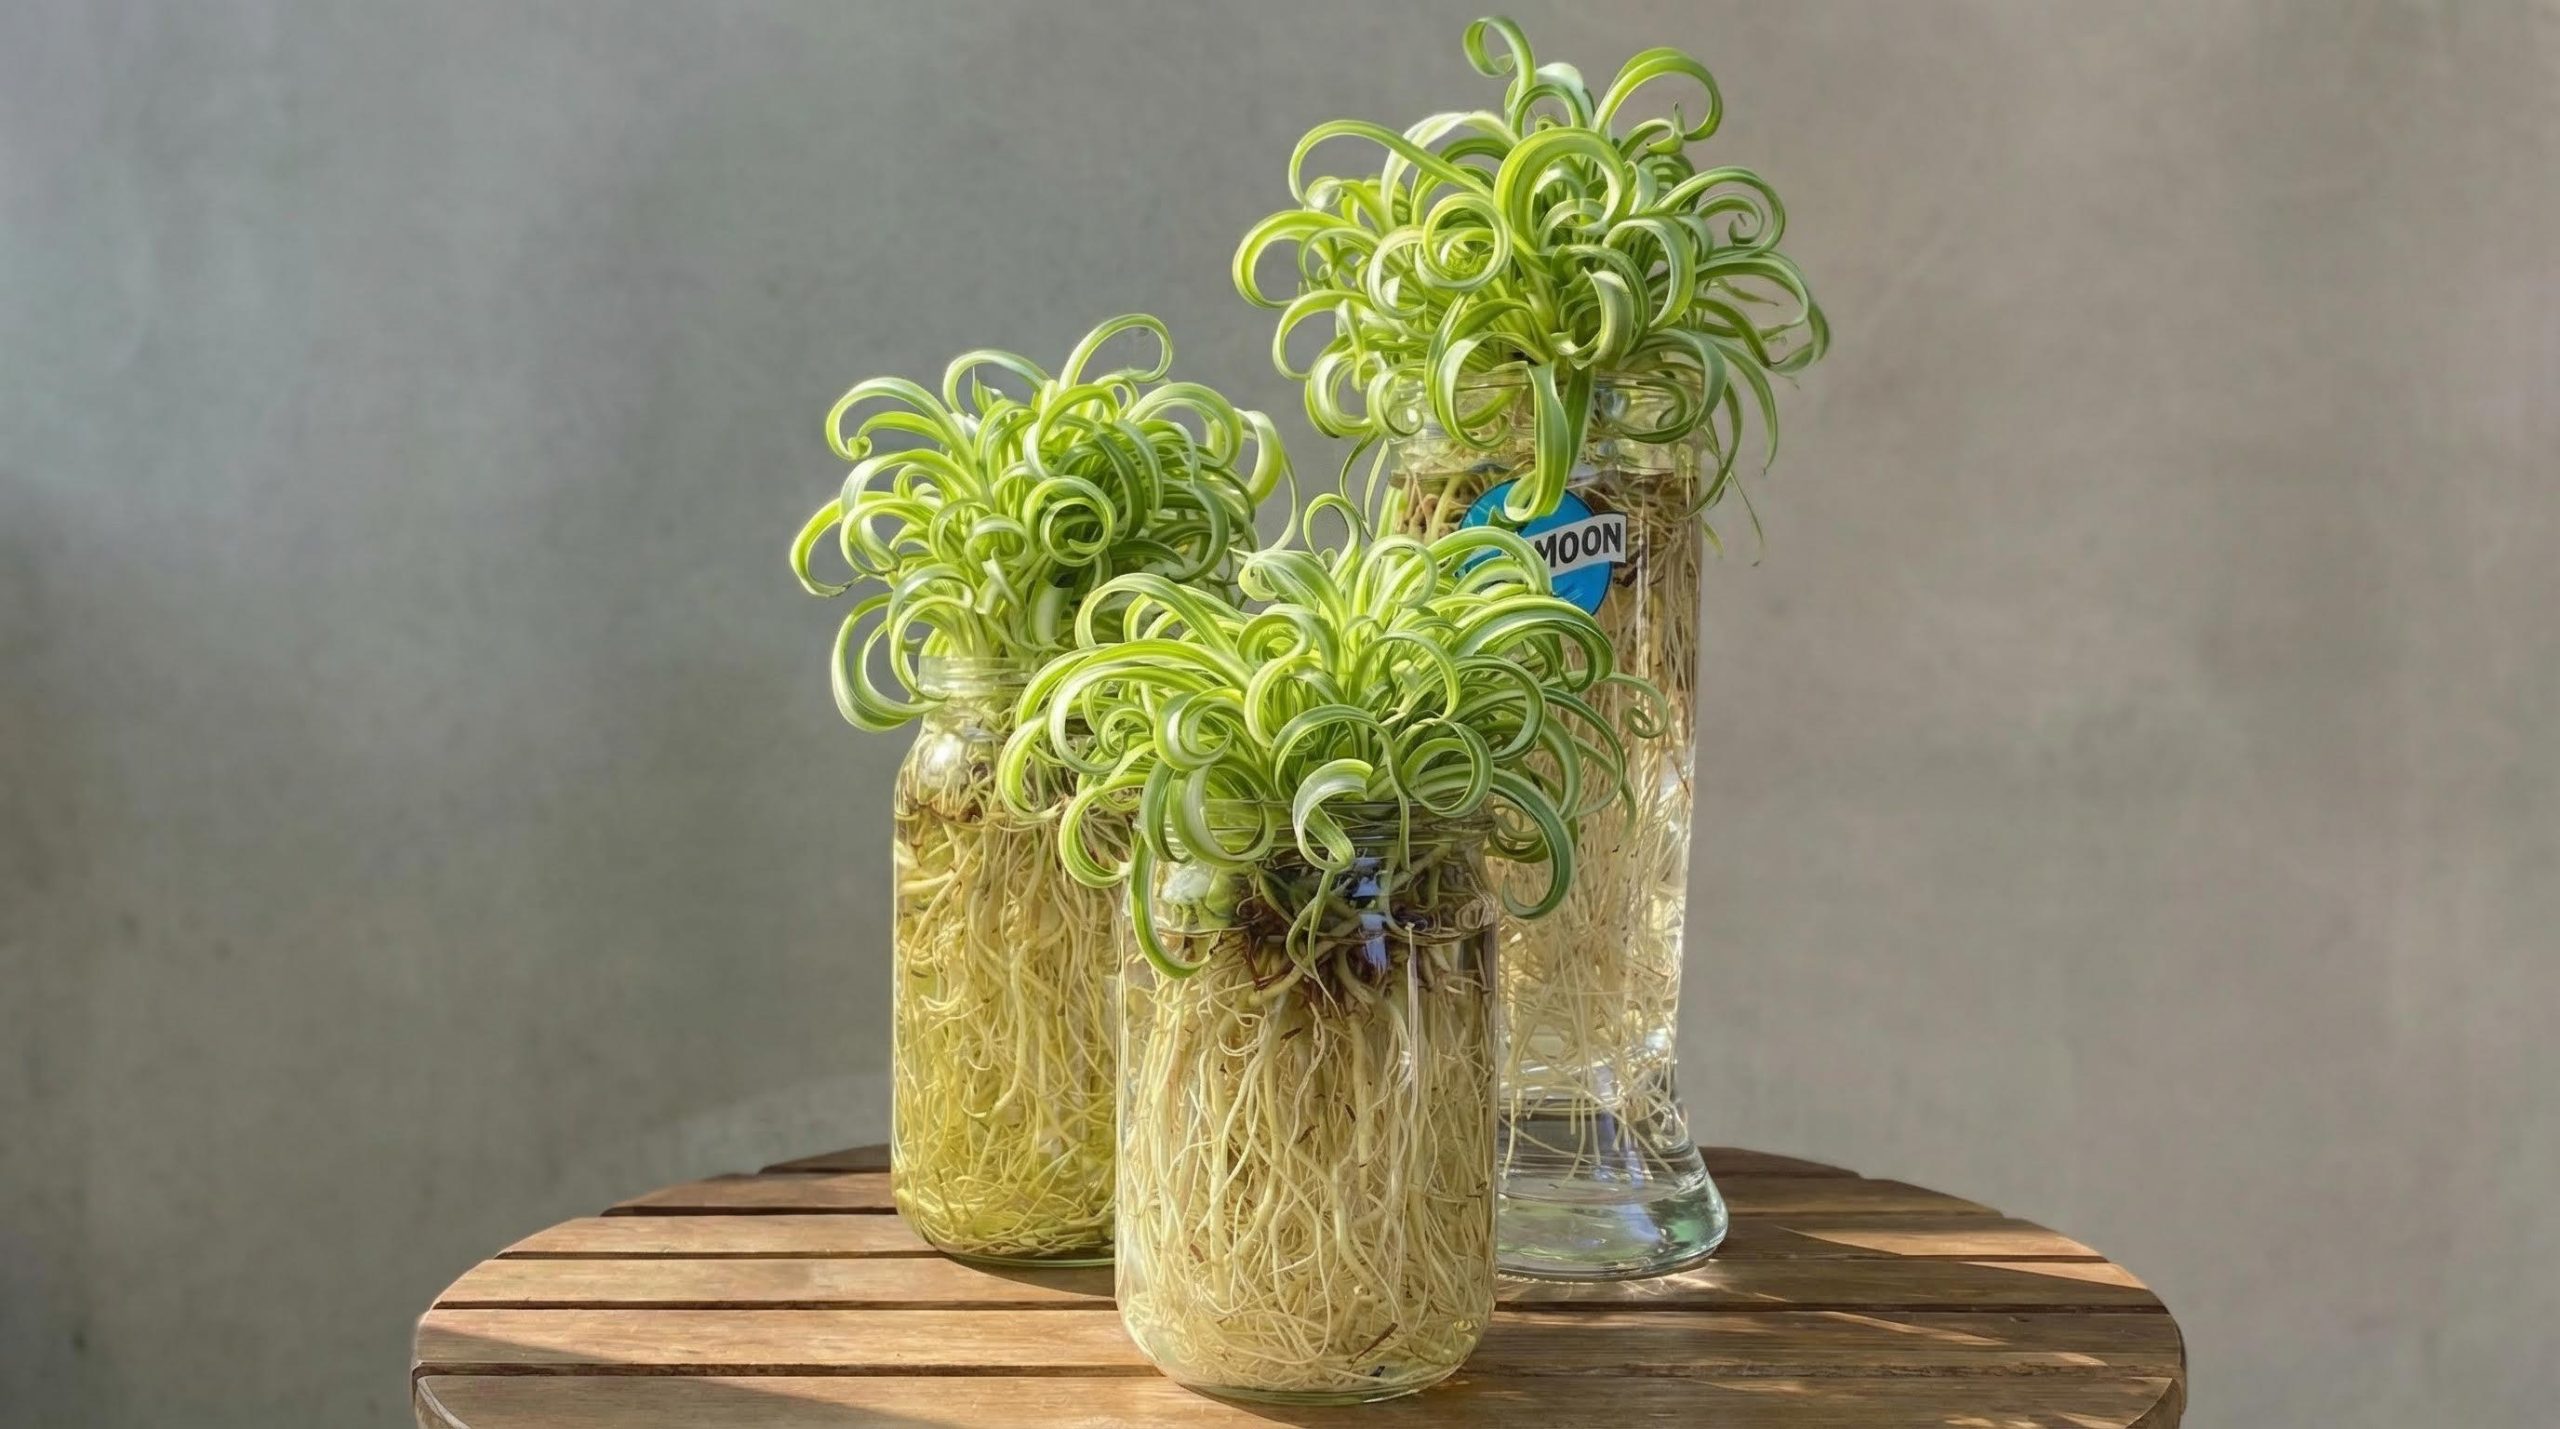
Spider plants are beloved houseplants thanks to their elegant arching leaves, fast growth, and incredible ease of care. Whether solid green or beautifully variegated, they thrive with minimal effort, needing only indirect light, well-draining soil, and moderate watering. As they mature, they reward growers with long stems called runners, each carrying charming baby plants known as spiderettes.
One of the greatest joys of owning a spider plant is how effortlessly it multiplies. With nothing more than water and a healthy parent plant, you can create an endless supply of new plants for your home or to share as thoughtful, living gifts.
How to Propagate a Spider Plant in Water
Materials You Will Need
A clean, sharp pair of scissors or a knife is essential for making precise cuts. You will also need a glass or jar filled with clean water for rooting, and later, a small pot with well-draining potting soil.
Step 1: Choose a Healthy Parent Plant
Successful propagation always starts with a strong, mature spider plant. Look for vibrant green leaves, firm stems, and a plant that is already producing runners. Healthy plants root faster and adapt more easily once transferred to soil.
Step 2: Identify the Right Spiderettes
Scan the runners for baby plants that already show small root nubs at their base. These spiderettes should be attached to a stem with at least a couple of inches of length, which helps stabilize them during the rooting process.

Step 3: Cut and Place in Water
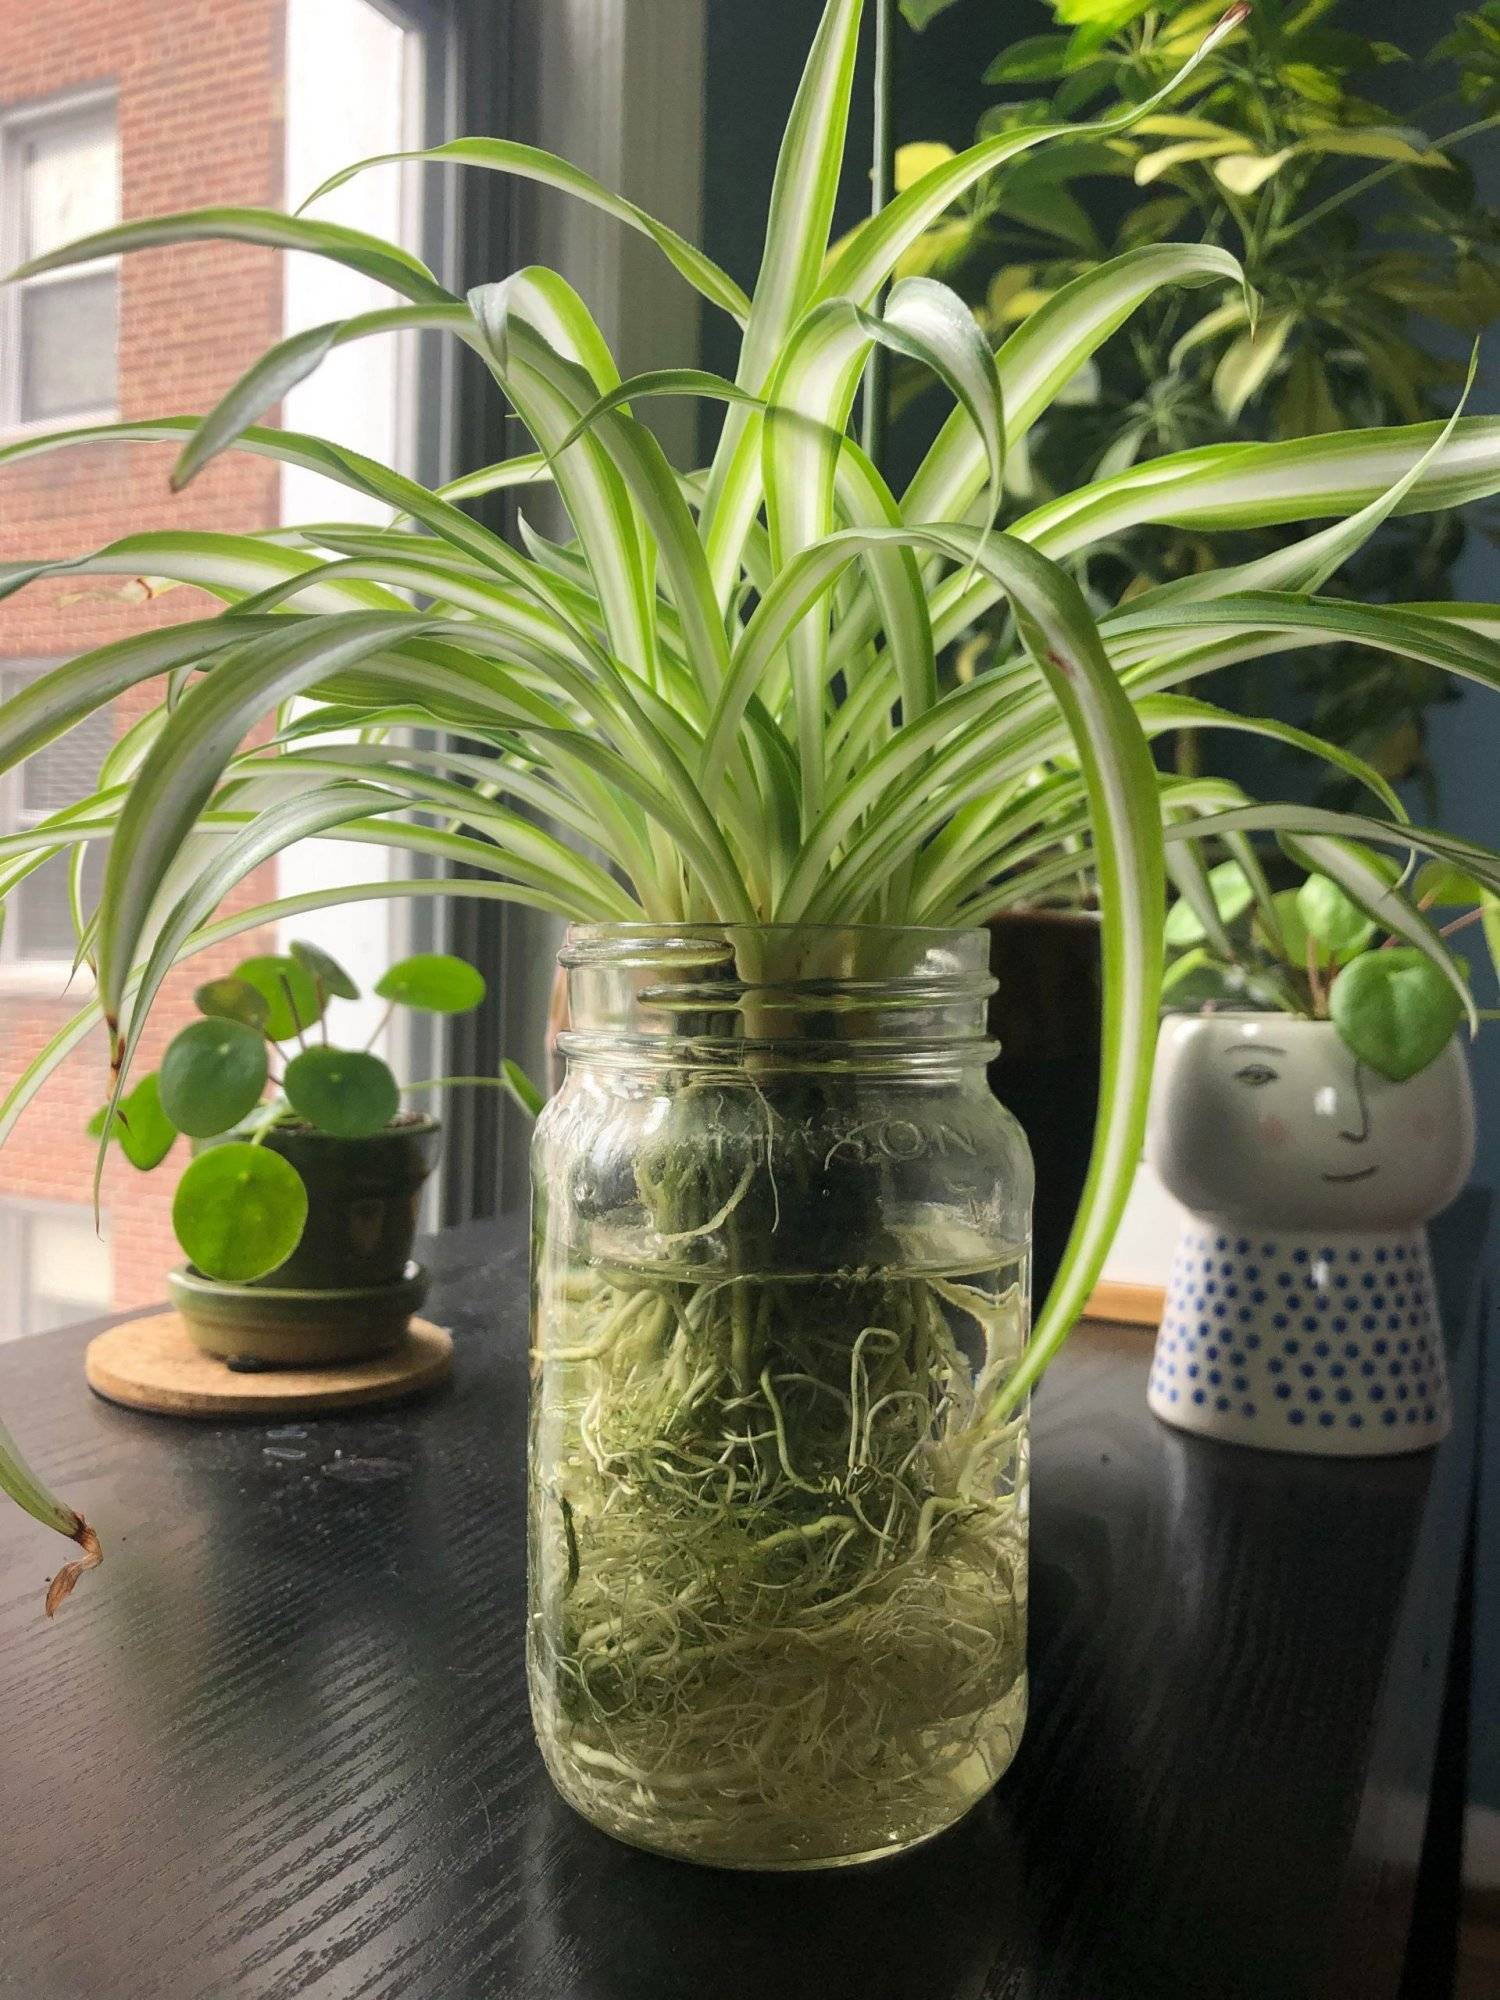
Using your clean cutting tool, snip the runner just below the baby plant. Place the cut end into a jar of water so that only the base of the spiderette is submerged. Keep the leaves above the waterline to prevent rot.
Step 4: Allow Roots to Develop
Set the jar in a bright location with indirect sunlight. Refresh the water every few days to keep it clean and oxygenated. Within one to three weeks, you should see healthy white roots forming. Once they reach a few inches long, the plantlet is ready for soil.
Step 5: Transfer the Plantlet to Soil
Fill a small pot with well-draining potting mix and gently plant the rooted spiderette, making sure the roots are fully covered. Water lightly and place the pot in indirect light while the plant adjusts to its new environment.
Caring for Your New Spider Plant
Sunlight
Spider plants prefer bright, indirect light, which helps maintain vibrant foliage and steady growth. While they tolerate lower light, avoiding direct sun is important, as harsh rays can scorch their leaves.
Watering
Allow the top layer of soil to dry slightly between waterings. Water thoroughly, ensuring excess moisture can drain freely. Spider plants are resilient, but consistent overwatering may lead to root rot.
Pruning and Maintenance
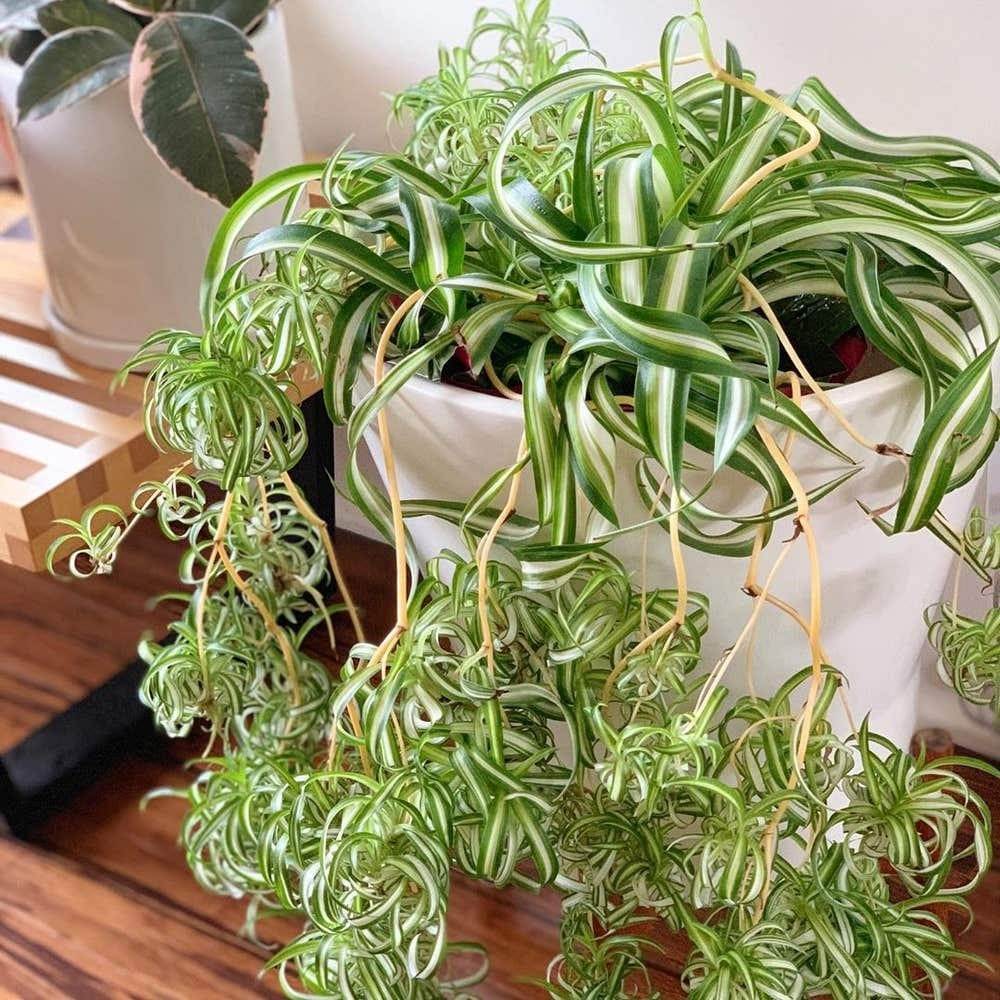
Remove yellow or brown leaves as they appear to keep the plant looking fresh and healthy. Trimming long or leggy stems encourages fuller growth. Runners with baby plants can be left for decoration or trimmed for further propagation.
Important Tips to Keep in Mind
Fertilizing: Spider plants are light feeders. During spring and summer, a balanced houseplant fertilizer applied once a month is more than sufficient.
Preventing Root Rot: Always use well-draining soil and water only when the top inch feels dry. Mushy roots and yellowing leaves are common signs of excess moisture.
Managing Pests: Occasionally, spider plants may attract pests such as spider mites or aphids. Gently wiping the leaves with a damp cloth or using a mild soap-and-water solution usually resolves the issue.
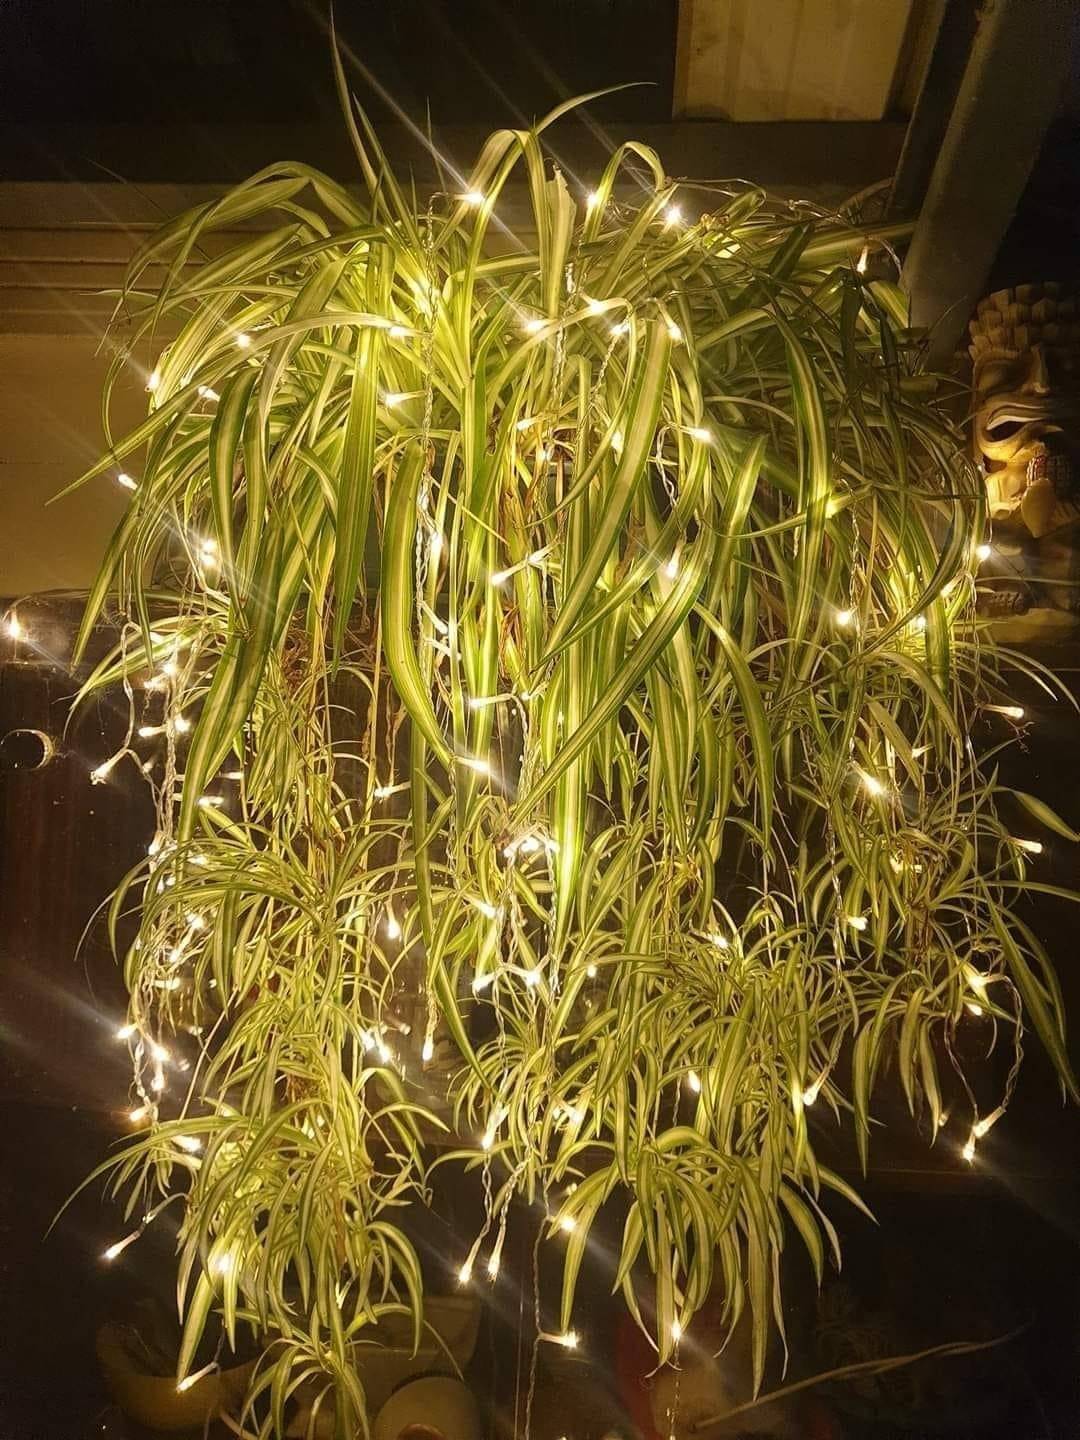
With their graceful shape, air-purifying abilities, and remarkable ability to reproduce, spider plants are ideal companions for both beginners and seasoned plant lovers. Propagating them is not only simple but deeply satisfying, turning one plant into many while filling your space with fresh greenery and life.
