
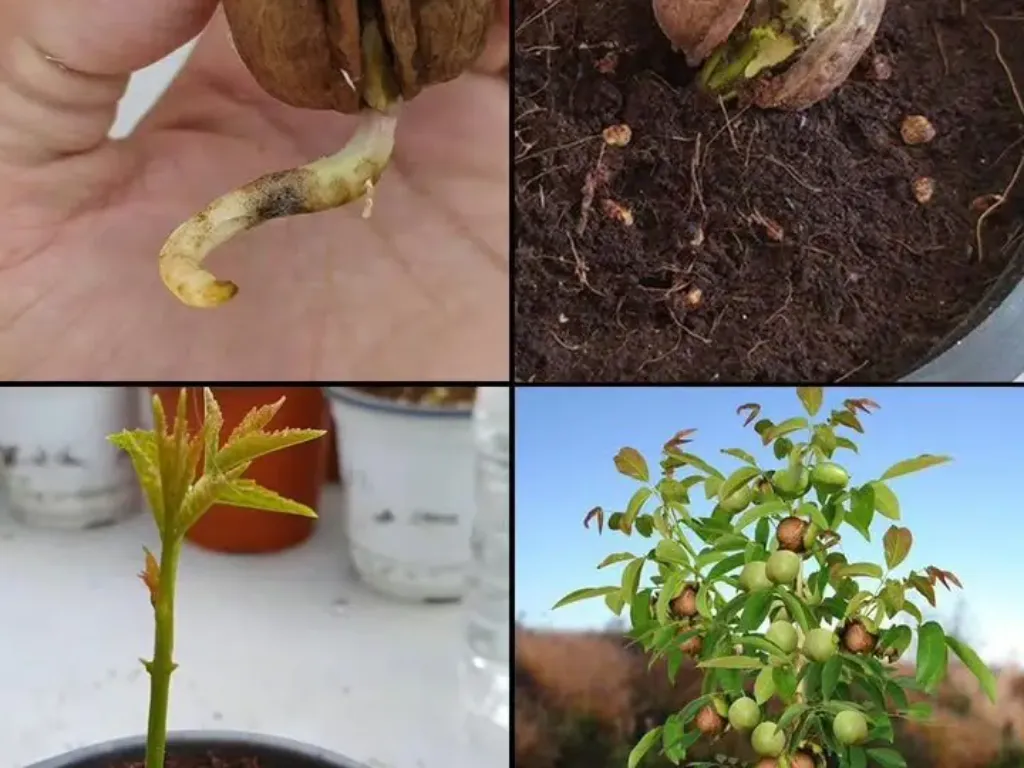
Step 1: Gather the Essential Materials
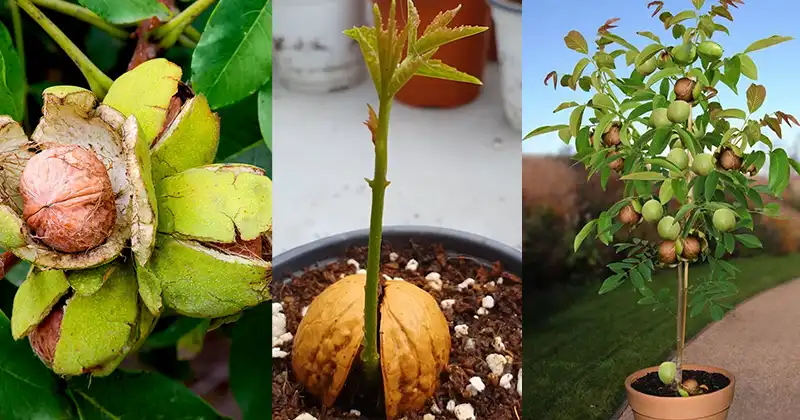
Before embarking on growing your walnut tree, make sure you have all the necessary materials at hand:
Fresh and fully ripe walnuts (avoid those that have been roasted)
A small pot or container suitable for germination
Rich, well-aerated, and well-draining potting soil

Plastic wrap or a freezer bag to maintain humidity
Water, along with a spray bottle or watering can
A bright spot with plenty of sunlight, or alternatively, a horticultural lamp to compensate for lack of natural light
And above all… a generous dose of patience!
Step 2: Select and Prepare the Seeds
To maximize your chances of success, choose walnuts that are in perfect condition—free from cracks or any sign of mold. You can pick them directly from under a walnut tree in autumn or obtain walnuts from a trusted local supplier.
Before planting, soak the walnuts in warm water for 24 hours. This step softens the shell and stimulates the natural germination of the seeds.
Step 3: Three Effective Techniques to Germinate Walnuts
Method 1: Cold Stratification, a Natural Process
This method is the most reliable as it closely simulates the winter conditions needed for germination.
Fill a pot with potting soil and bury the walnut at a depth of 2 to 3 centimeters.
Lightly moisten the soil without saturating it.
Wrap the pot in an airtight plastic bag and place it in the refrigerator for ideally 8 to 12 weeks.
At the end of this period, remove the pot and put it in a bright location. Within a few weeks, a small sprout will appear.
Method 2: Soaking Followed by Direct Planting
After soaking, immediately plant the walnuts in a sufficiently deep pot.
Keep the soil slightly moist and position your pot in a bright and warm place. Water regularly, but avoid waterlogging the substrate.
Method 3: Direct Outdoor Planting in Autumn
If you have a garden, take advantage of the autumn season to plant your walnuts directly in the ground. Nature will take care of the stratification over winter, and you will naturally see shoots emerge in spring.
Step 4: Caring for Your Young Walnut Tree
Once your sapling reaches between 10 and 15 centimeters in height, it is time to transplant it into a larger pot or place it in a sunny spot in your garden.
Some Recommendations to Encourage Healthy Growth:
Keep the soil slightly moist, without excess moisture to prevent root rot.
Provide it with at least 6 to 8 hours of daily sunlight.
Protect young shoots from rodent and slug attacks by placing a net or wire mesh around them.
Prune any fragile or damaged branches to strengthen the tree’s growth.
Practical Tip: In spring, adding well-decomposed compost or slow-release natural fertilizer will boost vitality and encourage harmonious development.
Step 5: Final Planting in the Ground
When your walnut tree reaches roughly one meter in height—which may take two to three years—you can consider planting it permanently in the ground.
Choose a sunny location where the soil is deep and well-drained.
Dig a hole at least twice the size of the root ball.
Carefully place your young tree in the hole, fill it with soil, then water generously.
Important: keep in mind that a mature walnut tree requires a clear space of at least 8 to 10 meters around it to fully develop.
The Lasting Joy of Watching Your Tree Grow
Growing a walnut tree is an exciting long-term adventure, a deeply poetic act. In just a few years, your young sapling will transform into a majestic tree, offering shade, beauty, and every autumn, delicious walnuts ready to be harvested.
A Simple and Responsible Gesture: planting today in order to harvest tomorrow, thus perpetuating a rewarding natural cycle.
