
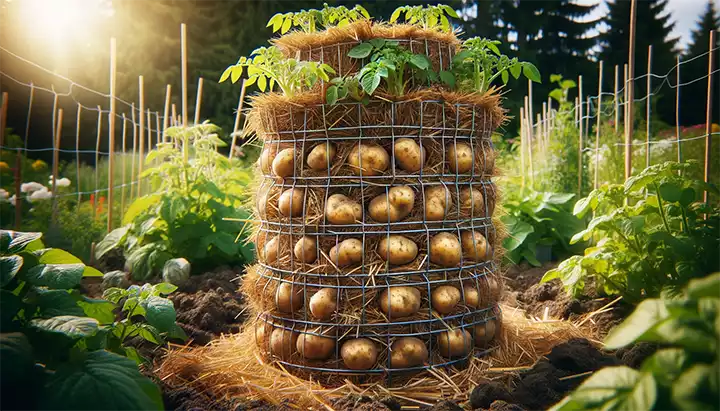
How to Build a Straw Potato Tower for Maximum Harvest in Small Spaces
Growing potatoes in a small garden, patio, or balcony can seem difficult, but a straw potato tower offers a simple and highly productive solution. This vertical gardening method allows you to grow a generous crop in a compact footprint while making maintenance and harvesting much easier. Whether you’re an urban gardener or simply looking to optimize your growing space, a potato tower is an efficient and rewarding project.
Why Grow Potatoes in a Tower?
Space-Saving Design: Potato towers take up very little ground space, making them ideal for small gardens, patios, and balconies.
Easy Harvesting: Instead of digging through garden beds, you can simply remove layers of straw and soil to collect your potatoes.
Fewer Soil-Borne Problems: Raising the growing medium helps reduce exposure to pests and diseases commonly found in the ground.
Better Drainage and Airflow: The layered structure promotes healthy root development by improving moisture control and aeration.

Materials You’ll Need
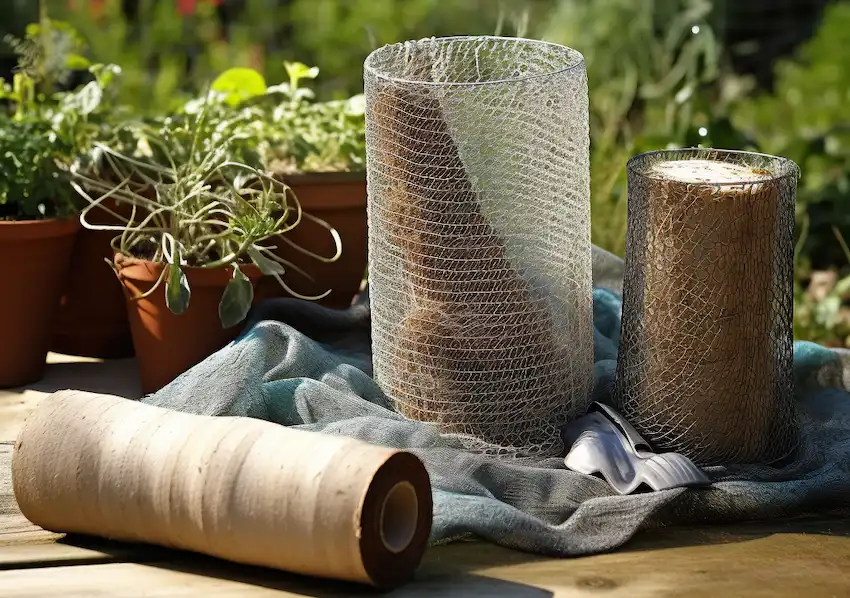
Before getting started, gather the following materials:
• Wire fencing or a large mesh cylinder
• Weed-free straw
• Compost and quality garden soil
• Certified seed potatoes
• Watering can or garden hose
• Gardening gloves
Step-by-Step Instructions
1. Select a Sunny Location
Potatoes grow best in full sun. Choose a location that receives at least six hours of direct sunlight each day for optimal growth and tuber production.
2. Build the Tower Structure
Form a cylinder using wire fencing or mesh. A tower measuring approximately 2–3 feet in diameter and 3–4 feet tall provides enough space for healthy potato development. Secure the edges firmly so the structure remains stable throughout the growing season.
3. Create the Base Layer
Start with a thick layer of straw at the bottom of the tower to improve drainage. Add about 6 inches of a rich mixture of soil and compost on top of the straw.
4. Plant the Seed Potatoes
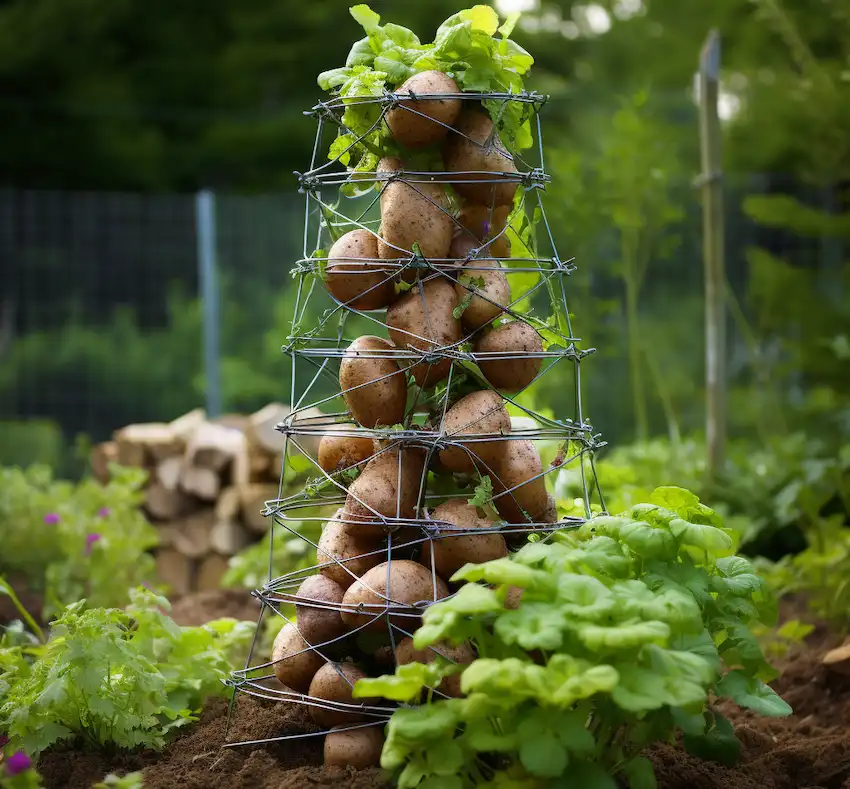
Place seed potatoes on the prepared soil with the eyes facing upward. Space them roughly 6 inches apart to allow room for growth. Cover them with another layer of the soil and compost mixture.
5. Build Up the Layers
As the plants grow taller, continue adding straw around the sides of the tower and more soil-compost mix around the stems. Leave only the top few inches of foliage exposed. This technique encourages the plants to produce additional potatoes along the buried stems.
6. Water and Maintain
Keep the growing medium consistently moist but not saturated. Regular watering is essential, especially during warm weather. Avoid excessive watering, as overly wet conditions can lead to rot and poor yields.
7. Harvest Your Potatoes
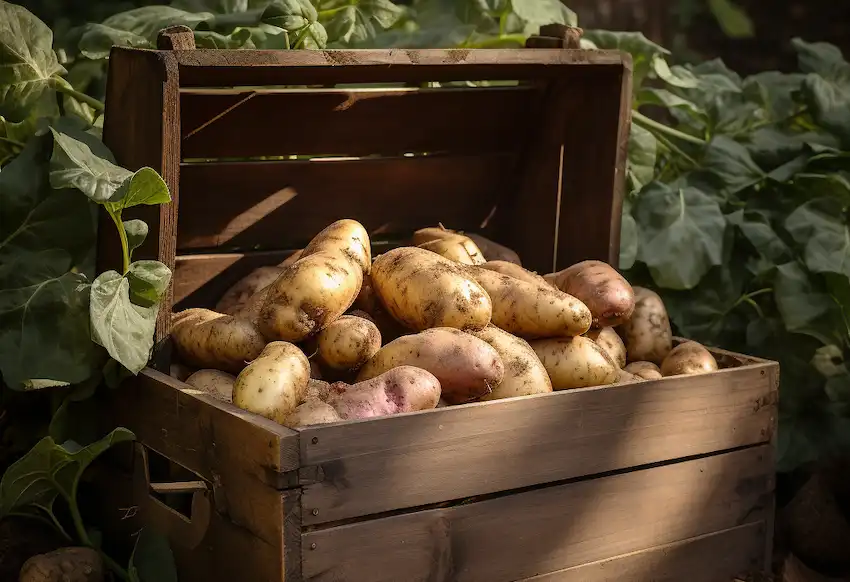
When the foliage begins to yellow and die back, the potatoes are ready for harvest. Carefully remove sections of straw and soil from the sides of the tower to reveal the mature potatoes without damaging them.
Helpful Tips for Success
Choose Quality Seed Potatoes: Certified seed potatoes are less likely to carry diseases and typically produce stronger plants.
Consider Mobility: If you may need to move the tower, place it on a sturdy wheeled platform before filling it.
Inspect Regularly: Check plants frequently for signs of pests or disease and address any issues early to maintain a healthy crop.
Final Thoughts
A straw potato tower is an innovative and practical way to grow a large potato harvest in a limited area. Its vertical design saves space, simplifies maintenance, and makes harvesting more convenient. With the right materials and proper care, you can enjoy an abundant crop of homegrown potatoes while making the most of every square foot of your garden.
