
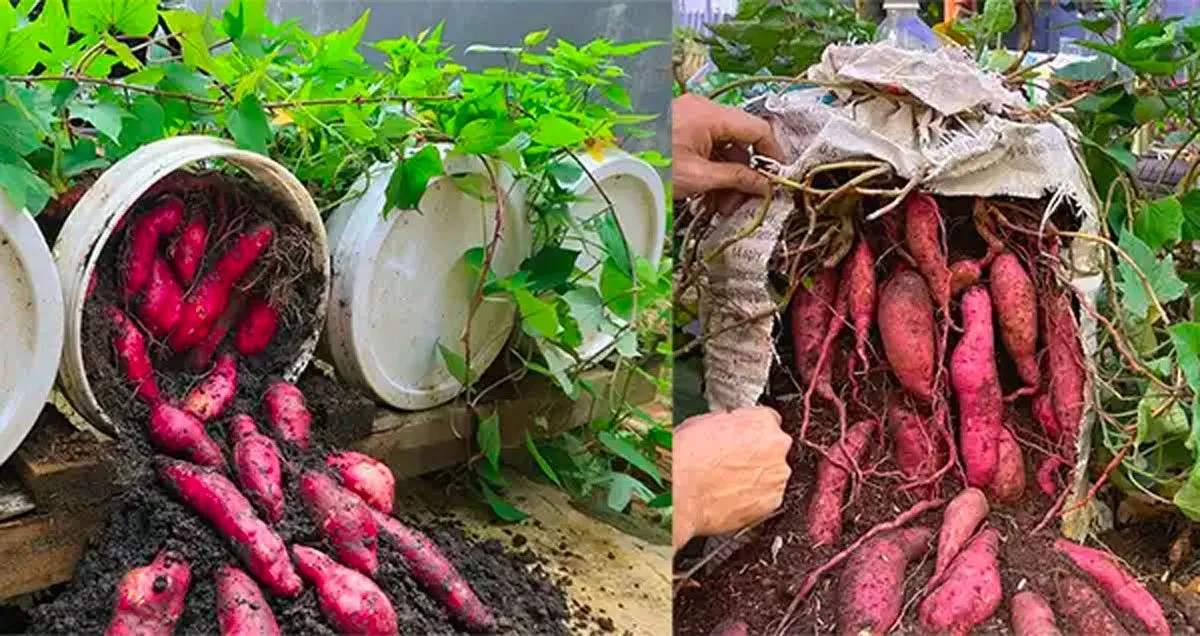
Are you considering growing sweet potatoes in containers? Even if you have limited gardening space, don’t worry—pots can serve as an excellent environment for cultivating these nutritious and delicious vegetables. In this detailed guide, expert gardener Sarah Hyde shares her knowledge and techniques to help you master the art of successful sweet potato growing in containers.
Sweet Potatoes: A Garden Treasure
More than just a flavorful addition to your meals, sweet potatoes are packed with nutrients and bring vibrant life to any garden. While these plants are often seen sprawling across garden beds, many gardeners are surprised to learn that sweet potatoes can also flourish in containers. Whether planted in large raised beds or simple garden pots, sweet potatoes demonstrate remarkable adaptability and versatility.
New to Growing Sweet Potatoes in Pots? Follow These Steps
If you’re beginning your journey into container cultivation of sweet potatoes, following a clear and structured approach will help ensure a flourishing crop.
Step 1a: Acquiring Sweet Potato Slips
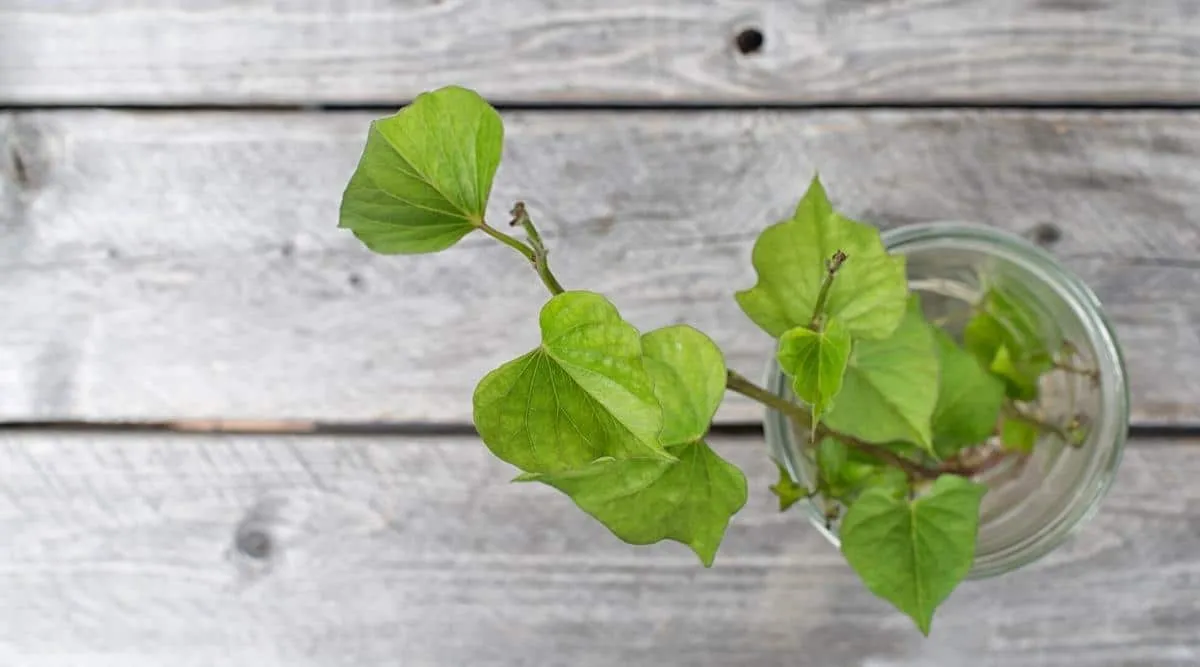
Sweet potatoes do not grow from traditional seeds but from “slips,” which are young shoots or cuttings from the sweet potato plant. These slips can develop into mature plants capable of producing several pounds of sweet potatoes each, depending on the variety, environmental conditions, and timing of harvest.
These slips are delicate and prone to drying out quickly. When first received, they may appear as fragile stems with wilted leaves, but don’t be discouraged—many slips rejuvenate beautifully once planted.
To obtain slips, some planning is necessary. Check with local garden centers early in the growing season for availability or order from reputable online seed suppliers. It is wise to purchase a few extras, as some slips may not survive up to planting time.
Keep in mind that most suppliers will wait until the risk of frost has passed before shipping slips, to prevent damage during transit.
Step 1b: Growing Your Own Sweet Potato Slips
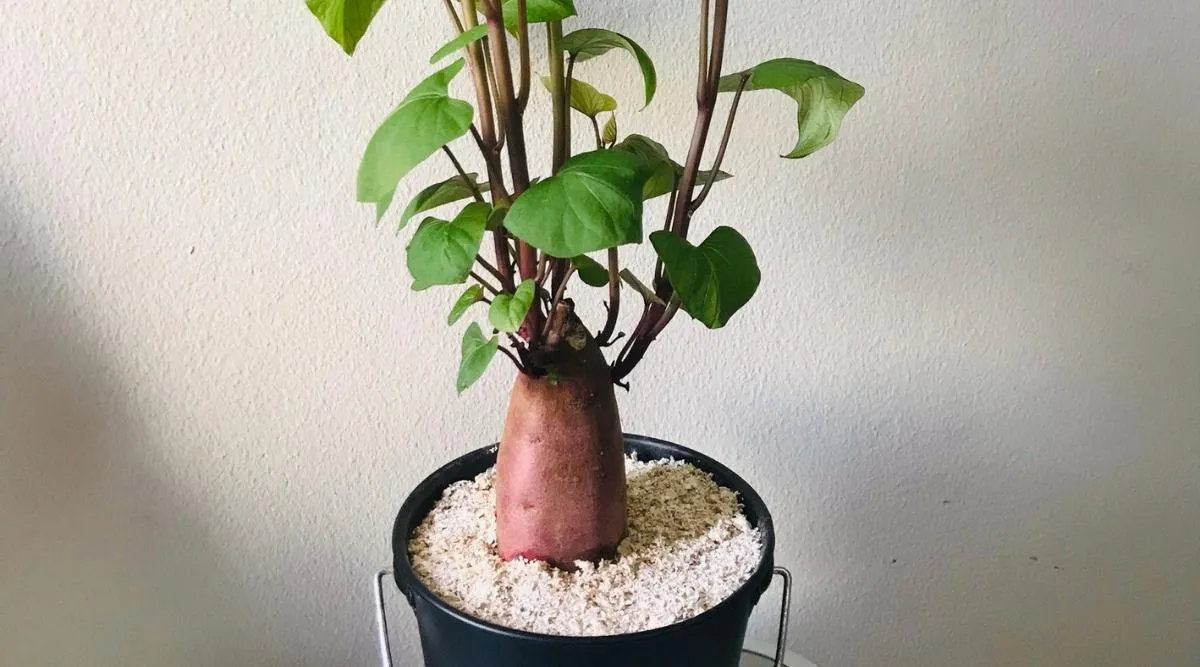
If you plan to grow only a few plants, consider making your own slips at home. Begin this process indoors in early spring, in a warm and sunny location.
To start, place a ripe sweet potato in a soilless medium and wait for it to sprout. Treat the developing slips with care, similar to any indoor plant nurturing. There are several successful methods to encourage sprouting, including placing the potato in water. However, be prepared to change the water regularly to avoid murkiness. Both water and soilless mediums are effective—choose the option that best suits your environment.
Note that using sweet potatoes from grocery stores might not work well for sprouting, as many are treated with inhibitors to prevent growth.
Step 2: Selecting the Ideal Container
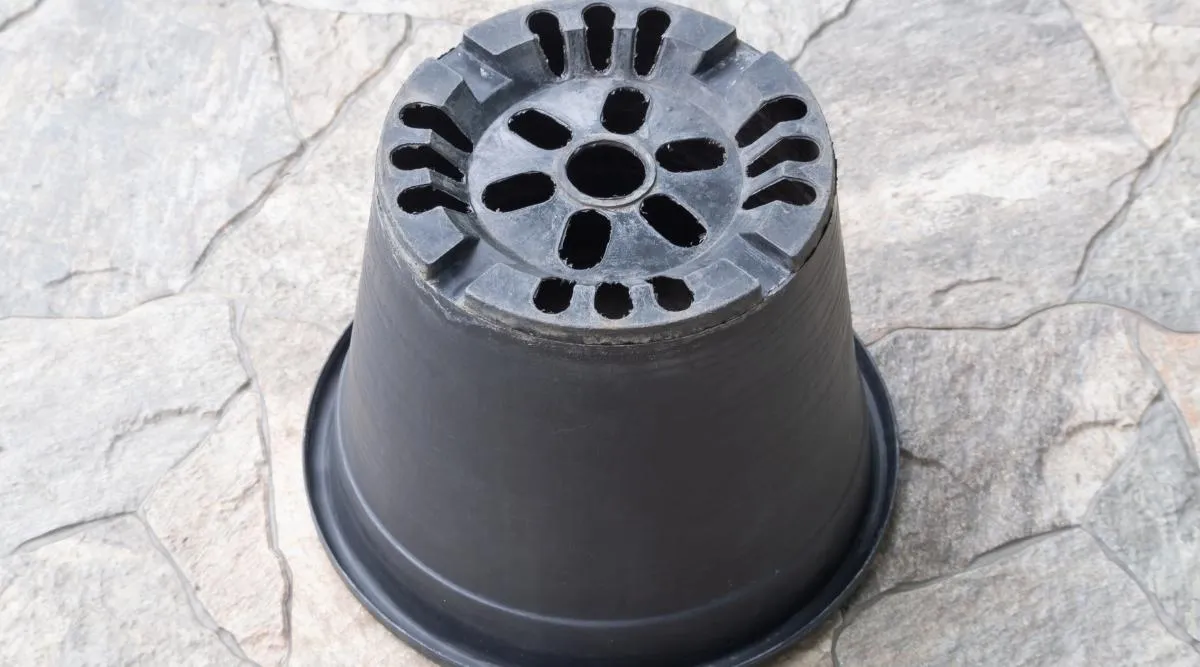
Since sweet potatoes develop deep root systems, the container you use should be at least 12 inches deep and approximately 2 feet wide per plant. Containers smaller than this limit can restrict root expansion and potentially reduce yield.
Make sure the pot you choose has adequate drainage—this can come from holes at the container’s base or by using well-draining soil in raised beds. Good drainage is essential to maintain healthy tubers and avoid rot. Generally, it is best to plant only one sweet potato slip per container to ensure sufficient space.
Step 3: Nourishing Your Sweet Potatoes with a Nutrient-Rich Mix
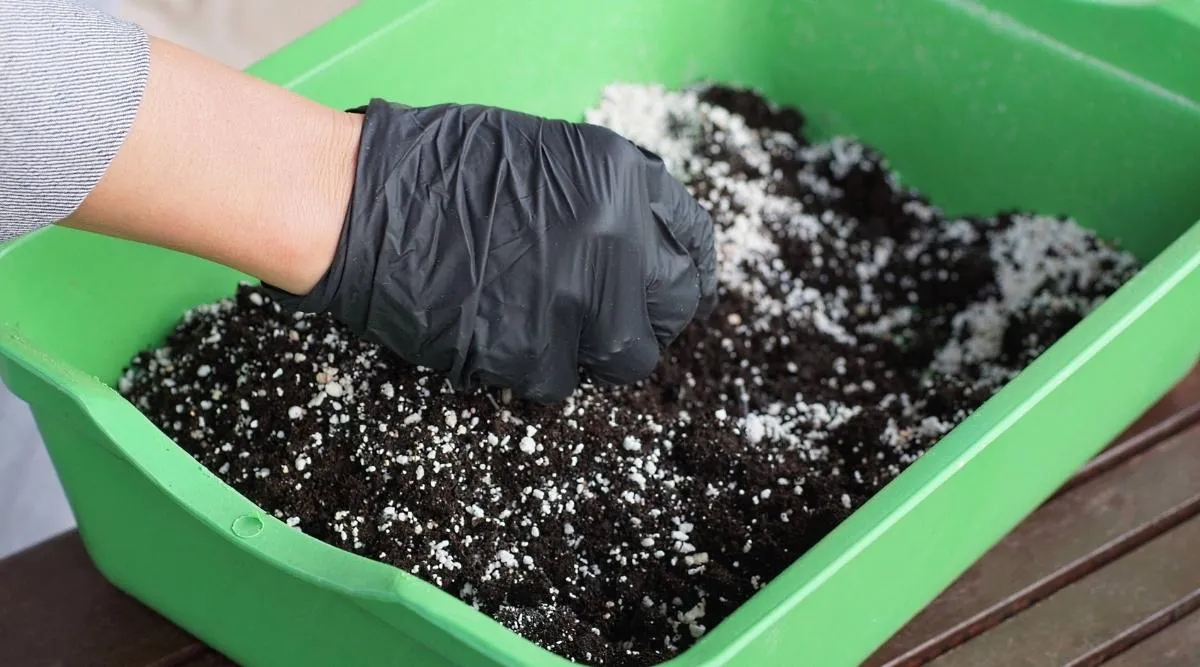
Providing your sweet potatoes with the right nutrients is key to their growth. Opt for a balanced vegetable fertilizer, such as one with an N-P-K ratio of 10-10-10. Organic fertilizers are also an option, though they often have lower nutrient concentrations like 2-2-2 or 5-5-5, signifying less nutrient density.
Because of their lower concentration, organic fertilizers may require additional supplementation periodically. Always adhere to the label’s instructions on the amount and frequency of application to avoid over- or under-fertilizing.
Step 4: Plant Your Slips Without Delay
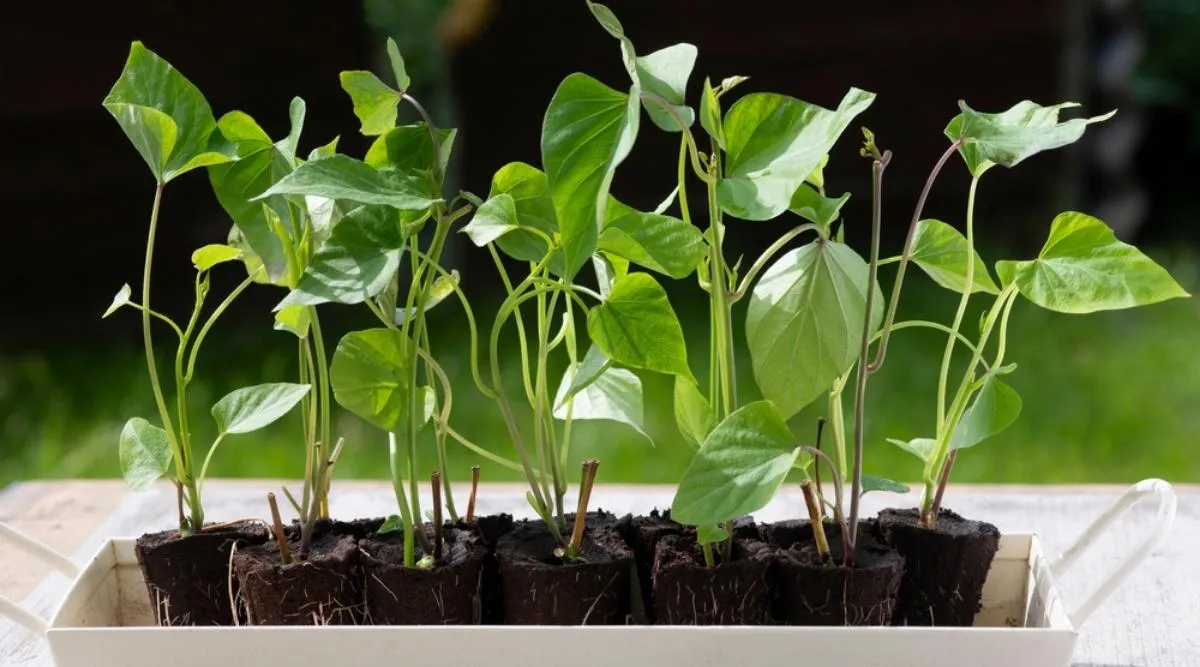
Plant your slips as soon as the threat of frost has passed for your area. Suppliers typically ensure slips are not shipped during frost-prone periods, reducing the risk of damage. If you are growing your own slips, cut them from the potato one day before planting to allow the cut ends to dry slightly.
Once you have your slips ready, plant them promptly in the prepared soil. Water them immediately, especially if they have traveled a long distance. Most slips will recover quickly and begin producing fresh green growth within a few days.
If a slip shows no signs of life after about a week, it is best to replace it with a new one to avoid wasted space.
Pro tip: To increase your chances of successful sprouting and growth, plant two or three slips in each pot initially, then thin or relocate the extras later. For larger containers, space your slips about 18 inches apart to allow ample room for growth.
Step 5: Protect Your Plants from Hungry Wildlife
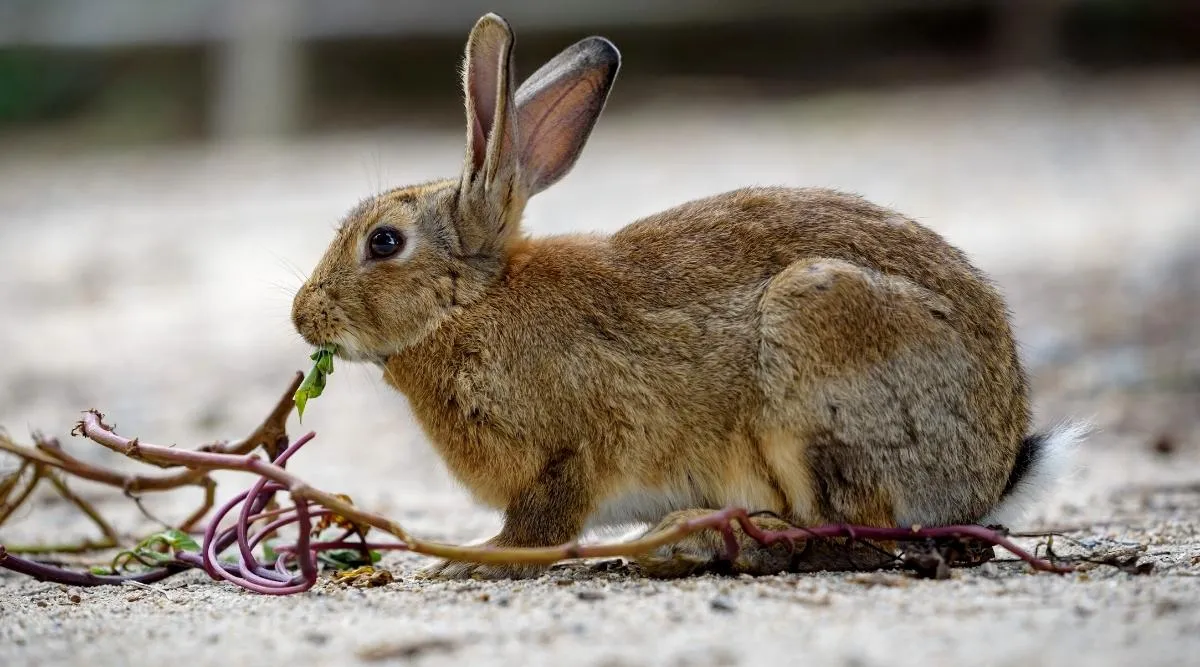
Deer and rabbits are especially fond of sweet potato vines and can significantly damage your plants if left unchecked. Consider methods to protect your garden treasures from these persistent munchers. While an occasional nibble won’t critically harm the plant, unchecked grazing can stunt growth and reduce your harvest.
Step 6: Maintaining Proper Hydration
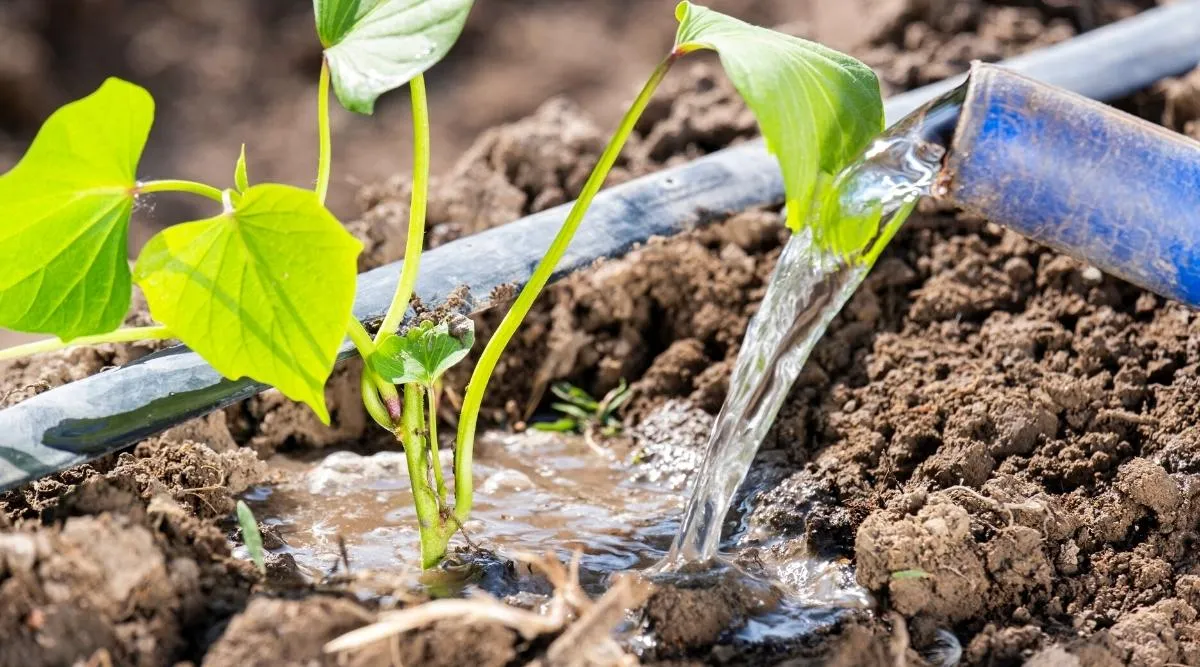
Because soil in containers dries out much faster than in garden beds, it’s important to regularly check moisture levels. Perform a simple test by inserting your finger into the soil up to the second knuckle. If the soil feels dry at that depth, it’s time to water your sweet potato plants. Be careful not to overwater and ensure your containers have proper drainage to prevent root rot.
Step 7: Harvest Before the First Frost
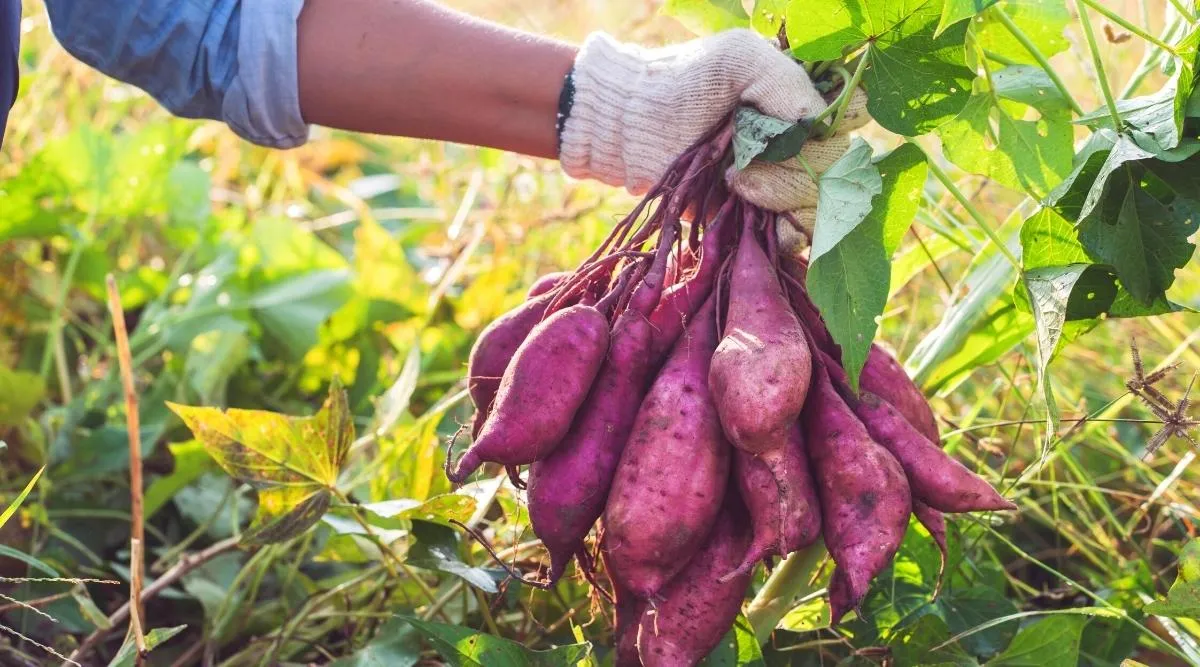
As harvest time nears, reduce watering gradually. Sweet potatoes are sensitive to frost, so it’s essential to gather your crop before cold weather arrives. Monitor local weather forecasts and harvest your potatoes if soil temperatures are expected to drop below 55°F, a critical temperature threshold especially for container-grown sweet potatoes.
When harvesting, trim the vine foliage, leaving a few inches attached to the tubers for easier handling. Visualize the root spread during digging to minimize damage to the tubers, which generally extend about a foot from the main stem.
Step 8: The Essential Post-Harvest Curing Process
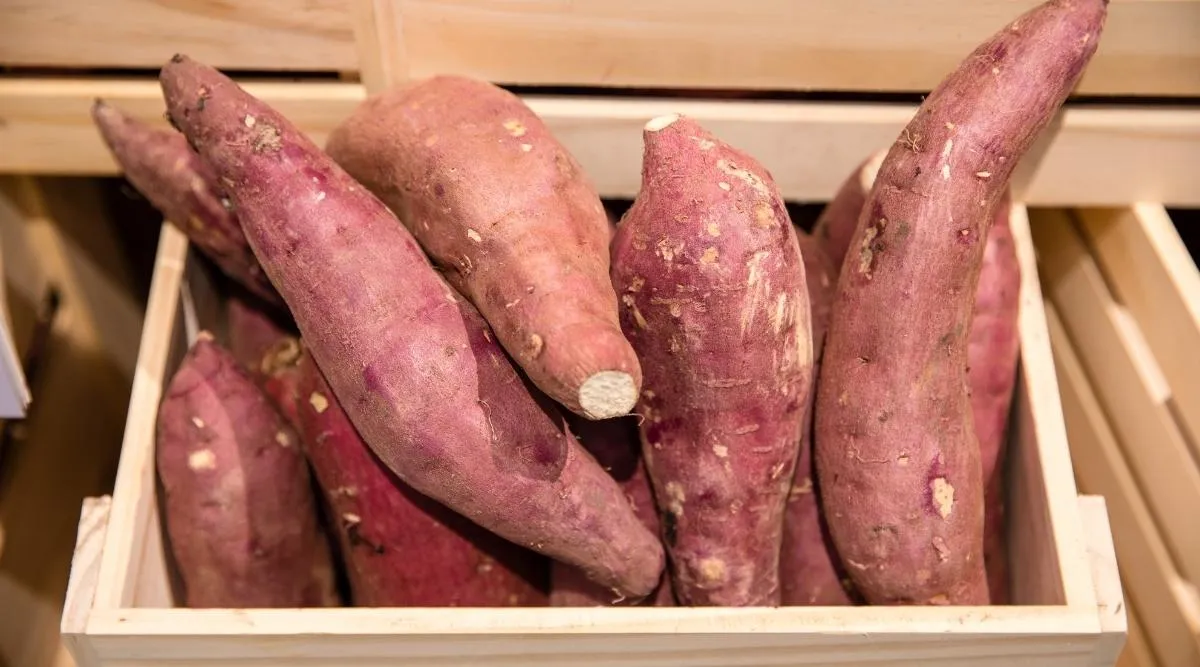
After harvesting, keep your sweet potatoes out of direct sunlight and protect them from cold nights. Before storing, sweet potatoes require curing, a vital process that allows their skins to dry and toughen, greatly extending their shelf life.
Creating the ideal curing environment—temperatures of 80 to 90°F with humidity between 85% and 90%—can be challenging but is worth striving for. Even if conditions aren’t perfect, patience can still yield good results.
Once cured, store your sweet potatoes in a cool space around 60°F. A well-ventilated basement or similar area usually provides ideal conditions for storage.
Wrapping Up
The entire journey, from sourcing or sprouting your own slips to the rewarding moment of harvest, is an immensely satisfying experience. Not only will you enjoy fresh, home-grown sweet potatoes, but the abundant greens are also a delightful addition to your kitchen. By following these detailed steps, your container-grown sweet potatoes will become a feast for both the eyes and the palate. Happy growing!
