
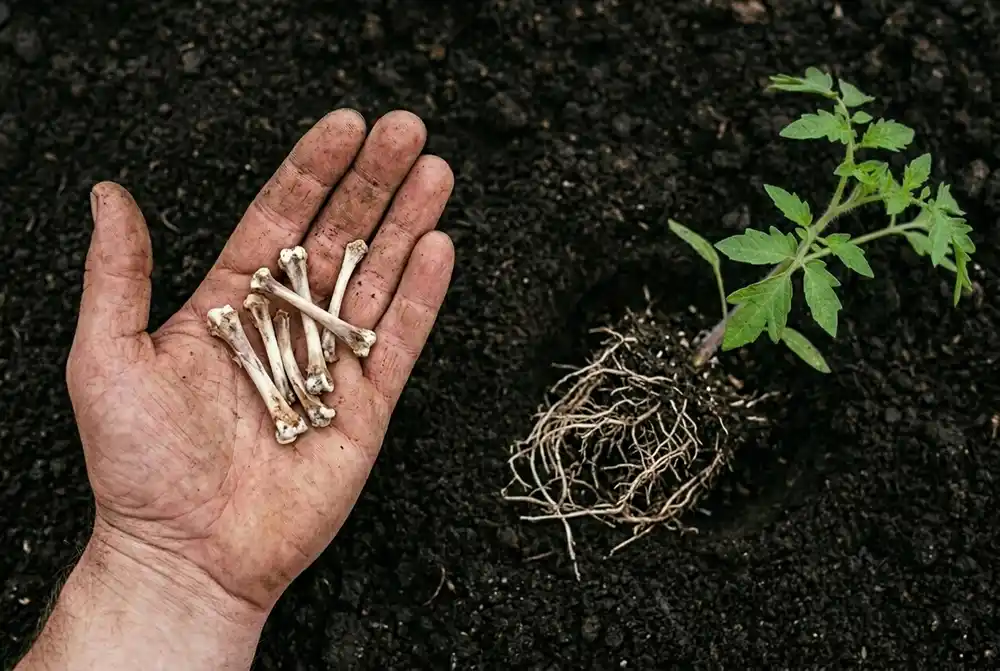
Every time you cook chicken, ribs, or a roast, you probably have the habit of discarding the leftover bones into the trash. However, these bones are packed with nutrients that can dramatically transform your garden. Instead of sending them to the landfill, you can turn them into homemade bone meal.
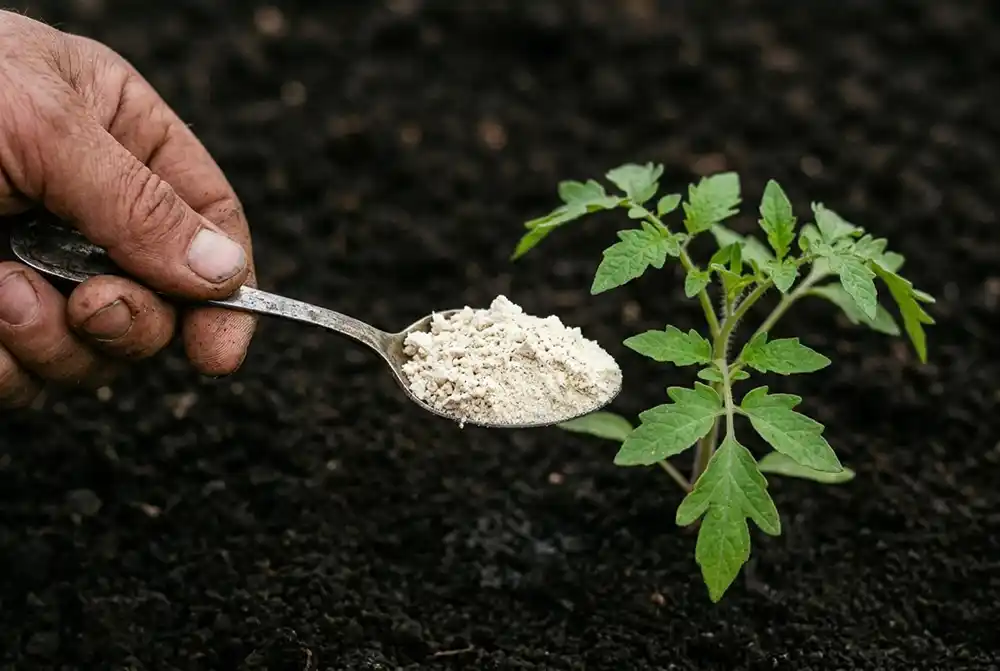
Bone meal is simply animal bones that have been carefully cleaned, dried, and then ground into a fine powder. For gardeners who value natural solutions, it is one of the best organic fertilizers available. Making it yourself helps save money, reduces kitchen waste, and provides your plants with a massive boost without relying on synthetic chemical products. This guide will explain why this powder is so effective, which plants benefit the most from it, and how to prepare it easily in your own kitchen.
Why Bone Meal is Beneficial for Your Garden
Plants require various nutrients to develop well. While nitrogen promotes the growth of green leaves, bone meal provides elements that nourish parts of the plant that are less visible. Its two main components are phosphorus and calcium.
Here is exactly what these nutrients bring to your garden:
Strengthens the roots: Phosphorus is the key element for root development. A deep and robust root system allows the plant to draw more water from the soil and better withstand heat and drought.
Stimulates flowering and fruiting: If your plants are lush and very green but do not produce flowers or fruits, they are probably lacking phosphorus. Bone meal encourages the plant to focus its energy on blossoming and fruit production.
Prevention of vegetable diseases: Calcium helps form cell walls. Regular supplementation prevents common issues like blossom end rot, which appears as a black, sunken spot damaging the bottom of tomatoes or peppers.
Slow release of nutrients: Unlike chemical fertilizers that quickly wash away with rain, bone meal breaks down slowly in the soil. It feeds plants gradually over several months, reducing the frequency of fertilization.
Improves soil health: Incorporating organic matter such as bone meal encourages the presence of earthworms and beneficial bacteria. These organisms break down the bone meal to enrich the soil, making it looser and more fertile over time.
Which Plants Benefit the Most from Bone Meal?
Bone meal is not useful for every plant. Those that only develop leaves, such as lettuce, spinach, cabbage, or grass, do not require high doses of phosphorus. However, plants grown for their roots or heavy fruits greatly benefit from an addition of bone meal.
Here are the categories of plants for which your homemade bone meal will be especially valuable:
Root vegetables: Carrots, radishes, onions, garlic, and turnips need phosphorus to develop large, thick roots underground.
Fruit vegetables: Tomatoes, peppers, eggplants, squash, and cucumbers require both phosphorus for intense flowering and calcium to prevent fruit rot while on the plant.
Flowering shrubs: Roses love bone meal. When incorporated into the soil, they produce larger, more colorful, and more abundant flowers throughout the season.
Tulips, daffodils, and lilies: These bulbs benefit greatly from adding bone meal directly into the planting hole in autumn.
Fruit trees: Apple trees, peach trees, and citrus trees use the slow-release nutrients to support strong branches loaded with fruit every year.
How to Make Your Own Bone Meal
Making bone meal takes time but is straightforward. Chicken bones are the easiest to use because they are thin and break easily. Other bones, such as turkey, pork, or beef, also work but require more effort to grind due to their thickness.
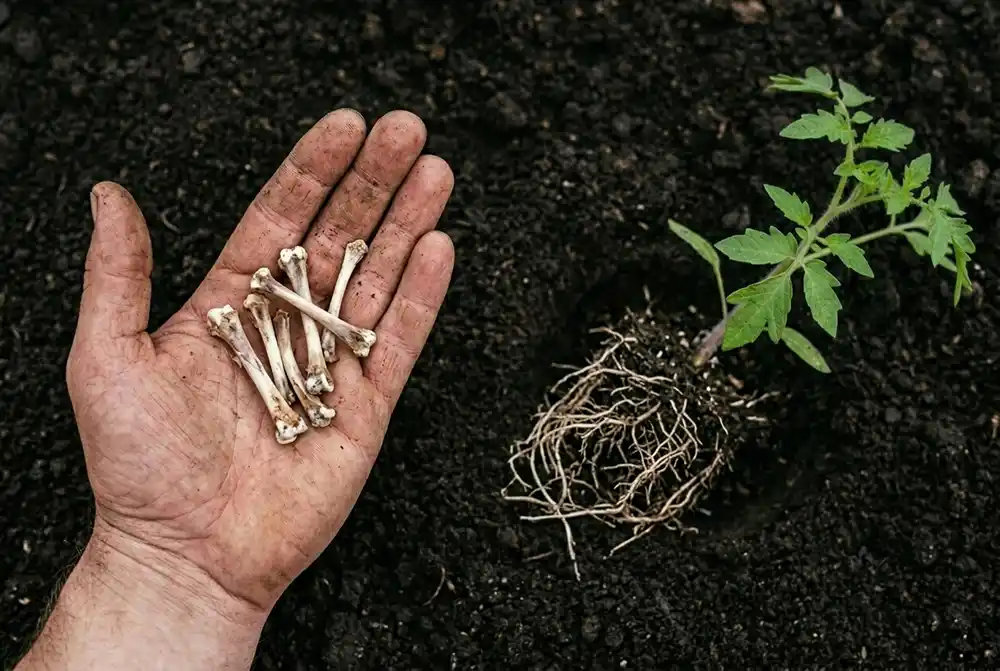
Here is the process to turn your kitchen bones into natural fertilizer:
Collect and freeze the bones: Keep a sturdy container or bag in the freezer specifically for bones. Every time you cook, place the leftover bones in it. Start making bone meal only after you have accumulated enough to make the process worthwhile.
Thoroughly clean the bones: All traces of meat, fat, cartilage, or marrow must be removed. If meat remains, the bone meal will smell bad and attract pests like rats or raccoons to your garden.
Boil the bones: Place them in a large pot of water and boil vigorously for 2 to 3 hours. This prolonged boiling dissolves fats and loosens the last bits of flesh.
Scrape and rinse: Remove the bones from the boiling water and let them cool enough to handle. Using a dull knife, scrape off any remaining tissue. Rinse thoroughly under warm water until they are completely clean.
Dry them in the oven: Spread the bones on a metal tray and bake at 200°C (400°F) for one to two hours. The goal is to make them dry, brittle, and slightly browned. This cooking step is the secret that makes grinding easier.
Let cool then break them: Once removed from the oven, let the bones cool completely. They should break easily by hand. Break them into bite-sized pieces.
Grind into powder: Place the pieces in a thick canvas bag or wrap them well in an old thick cloth. Pound them with a hammer or rolling pin until you obtain very small fragments. For a fine powder, you can then grind the fragments in a coffee grinder or a powerful blender.
Store properly: Keep your bone meal in a glass jar with a tight lid or a plastic container, away from moisture and heat, until you are ready to use it.
How to Apply Bone Meal in Your Garden
Bone meal is a slow-release fertilizer, so it is important to choose the timing and method of application carefully. The powder must be in direct contact with the soil and roots to dissolve effectively.
Here are the best ways to apply it:
At planting time: In spring, when planting seeds, bulbs, or seedlings, first dig a hole. Add one to two tablespoons of bone meal at the bottom. Lightly mix it with the soil before placing the plant. This makes phosphorus directly accessible to the roots.
Feeding established plants: For plants already in place, the surface application method works well. Sprinkle two to three tablespoons of bone meal in a wide circle around the base. Gently rake it into the top few centimeters of soil. Water generously to help the powder penetrate deeply into the earth.
Addition to compost: If you prefer not to apply it directly to your plants, you can integrate bone meal into your compost. It will break down with other waste and enrich your finished soil with valuable minerals.
Essential Safety Tips for Using Bone Meal
Although bone meal is a natural product, two essential rules must be followed during its preparation and use.
Wear a mask when grinding: Grinding dry bones releases a very fine white dust. Inhaling this dust can irritate your respiratory system. It is therefore crucial to always wear a simple dust mask and work in a well-ventilated space, such as an open garage or outdoors.
Protect your pets and wildlife: Even after cooking, bone meal retains an animal smell that attracts dogs, foxes, raccoons, and cats. These animals might rummage through your garden if they detect the scent on the soil surface. Always make sure to bury bone meal under the earth and never leave it exposed on the surface.
By taking the time to transform your kitchen bones into bone meal, you create a free, highly effective fertilizer that improves soil quality and allows your plants to reach their full potential.
