
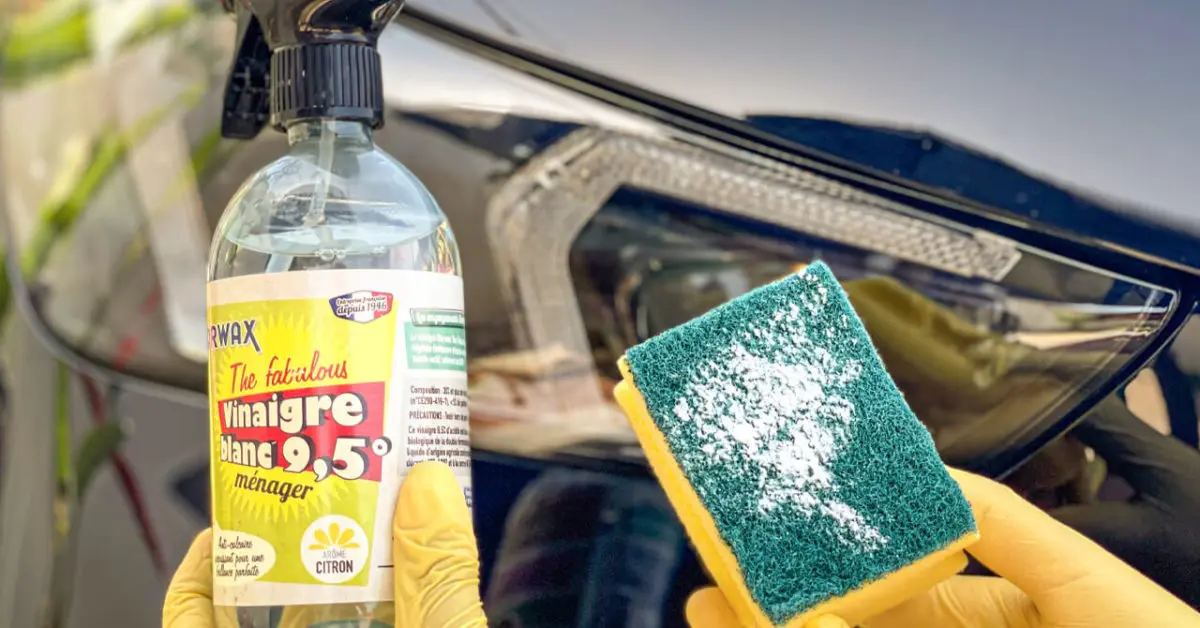
Maintaining and regularly cleaning your car headlights is not just about appearance—it is, above all, a matter of safety. To ensure optimal visibility on the road, especially at night, headlights must remain clean and clear at all times. Constant exposure to dust, dirt, pollution, and insect residue often causes them to become cloudy and dull. How can you restore their clarity without resorting to harsh or environmentally harmful products? Skip abrasive cleaners and choose a gentle, natural solution instead: white vinegar. You may be surprised by how effective it is. In this guide, discover how to use it properly.
Why Is It Important to Maintain Car Headlights?
Over time, car headlights inevitably lose their original clarity. Frequent exposure to dirt, scratches, and environmental factors causes them to yellow and become cloudy. Beyond aesthetics, proper maintenance is essential for safety. Clear headlights ensure good visibility, which is critical for safe driving. Dim or diffused light can significantly increase the risk of accidents. Dirty or worn headlights can distract the driver and reduce control on the road. To avoid unnecessary risks, regular cleaning is highly recommended.
Can You Clean Car Headlights with White Vinegar?
You may already know that white vinegar has powerful cleaning properties. It is widely used to remove stains, whiten surfaces, and disinfect household areas. Perhaps you have even used it to make kitchen tiles shine. The good news is that it is also an excellent ally for cleaning car headlights. When used correctly, this natural solution is both safe and effective for removing dirt and restoring clarity.
Important Warning
Never soak your headlights directly in vinegar. According to cleaning expert Danièle Odin, its strong acidity can, over time, damage the protective coating of the headlights. It is always best to dilute vinegar and apply it using a spray bottle.
How Often Should You Clean Your Car Headlights?
The ideal cleaning frequency depends on several factors, including environmental conditions and your driving habits. However, as a general rule, Danièle Odin recommends cleaning headlights every two to three months to keep them in good condition.

Cleaning Headlights with White Vinegar: Step-by-Step Guide
What You Will Need
White vinegar, water, a microfiber cloth, and masking tape.
How to Clean Your Headlights
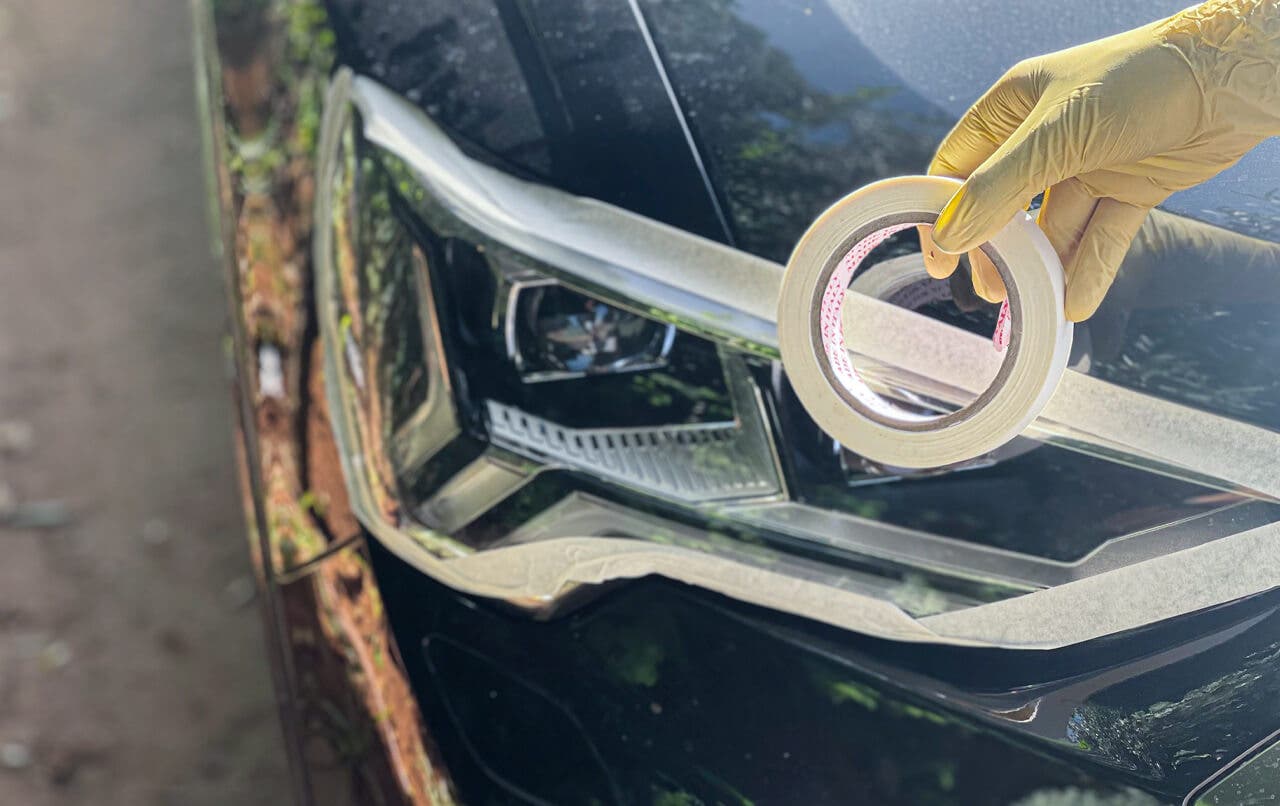
Protect the paint: To prevent any discoloration or damage, use masking tape to protect the paint surrounding the headlights.
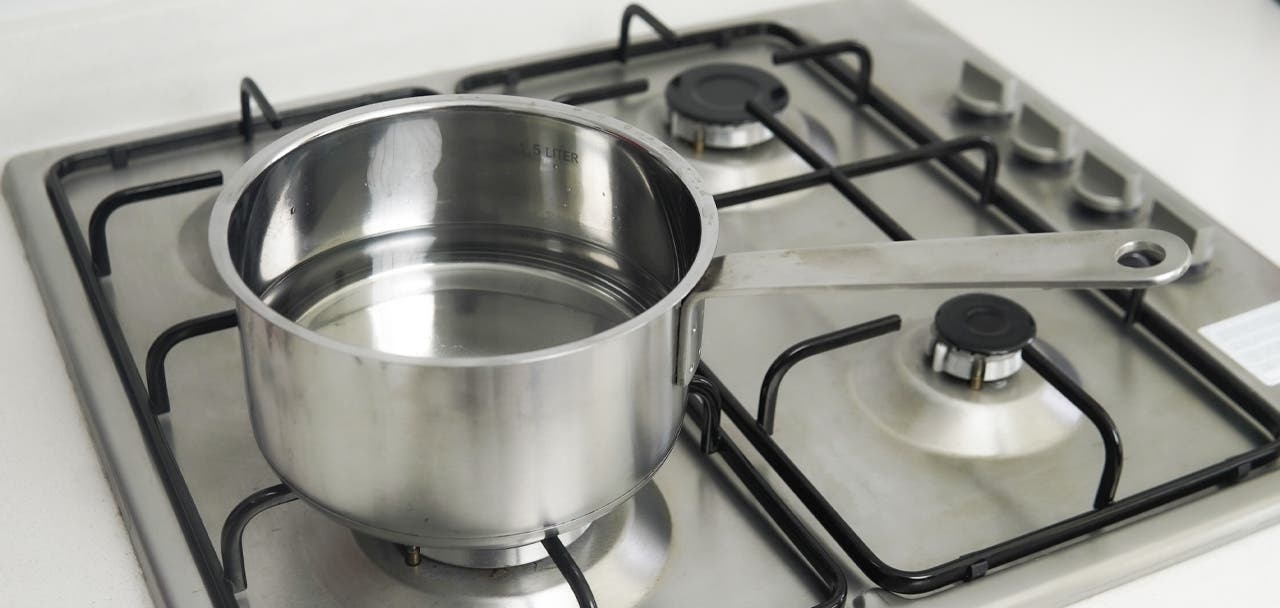
Prepare the solution: Mix three parts water with one part white vinegar. Gently heat the mixture without bringing it to a boil, then pour it into a spray bottle.
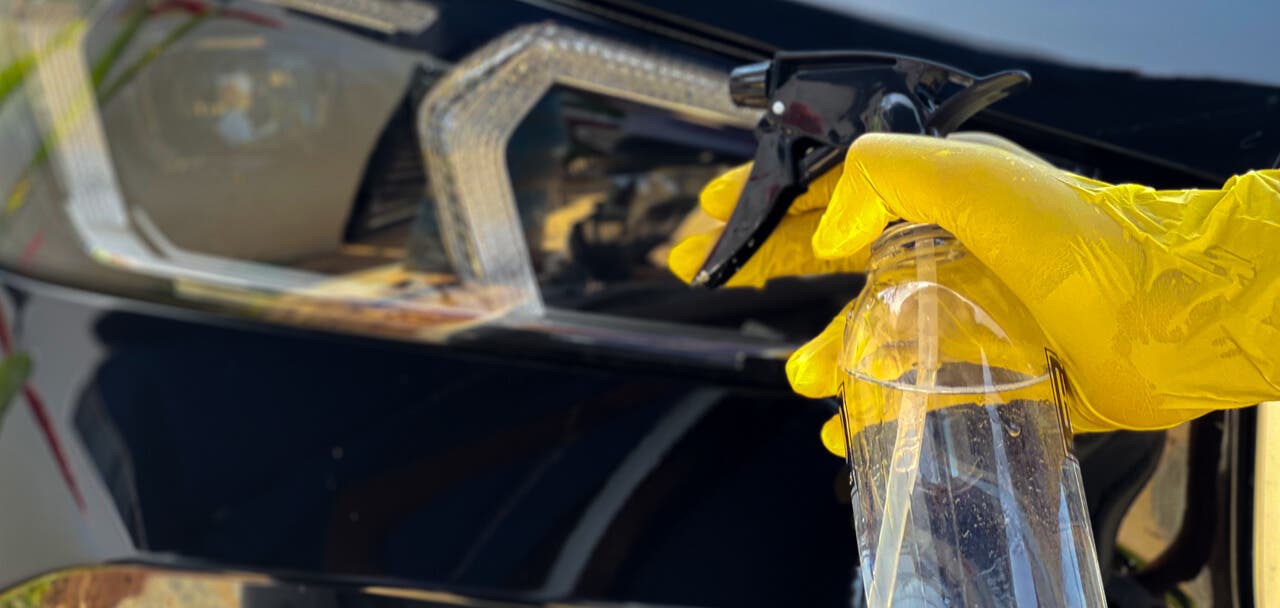
Apply generously: Spray the solution evenly over the entire surface of the headlights, making sure every area is well covered.
Let it sit: Allow the solution to work for 5 to 10 minutes to loosen dirt and residue effectively.
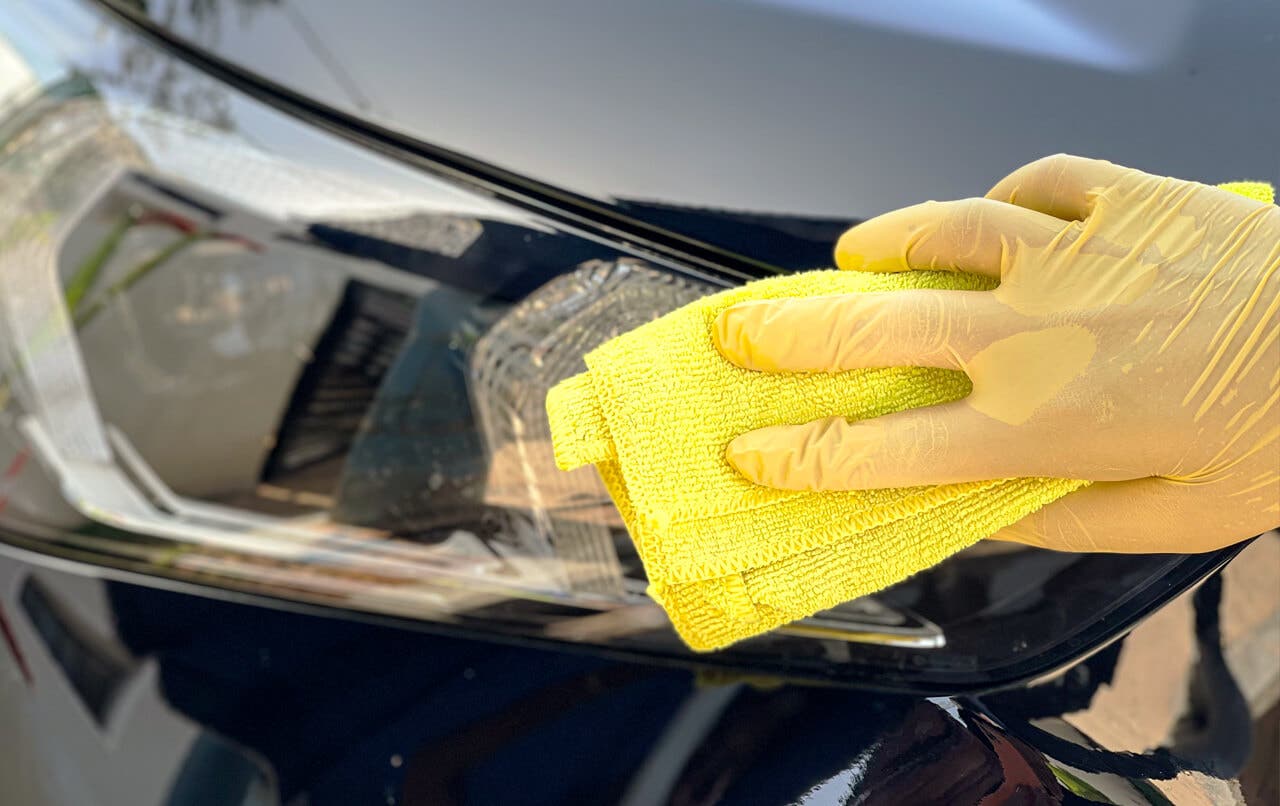
Clean gently: Using a clean microfiber cloth or an old toothbrush, gently scrub the headlights in circular motions. Be careful not to scratch the surface.
Rinse and dry: Rinse thoroughly with clean water and dry with another microfiber cloth to avoid streaks.
How to Protect and Make Your Headlights Shine After Cleaning
Once your headlights are completely dry, you can enhance their clarity by applying a small amount of polish to a clean microfiber cloth. Rub the surface using circular motions for a few minutes. After polishing, applying a protective wax is essential to protect the lens and prepare it for the final step. To ensure long-lasting results, apply a UV-resistant sealant. This step is crucial because cleaning removes the old protective layer. Skipping this step would undo all your hard work, as the sealant prevents the lenses from becoming cloudy again.
Mistakes to Avoid When Cleaning Car Headlights
Skipping surface protection: Masking tape is essential to protect the surrounding paint and prevent accidental damage.
Improper sanding: If sanding is needed to restore clarity, it must be done correctly. Use sandpaper with a grit between 400 and 600, starting with a coarser grit and gradually moving to a finer one for a smooth finish.
Neglecting polishing: Always finish by applying a quality polish or a headlight restoration kit to achieve a clear and glossy result.
