
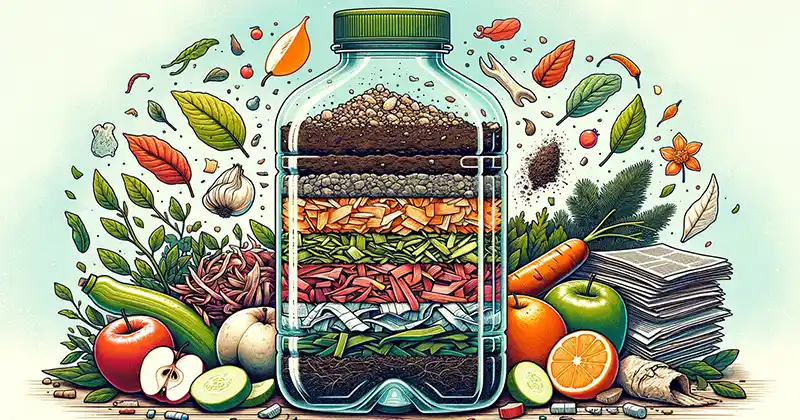
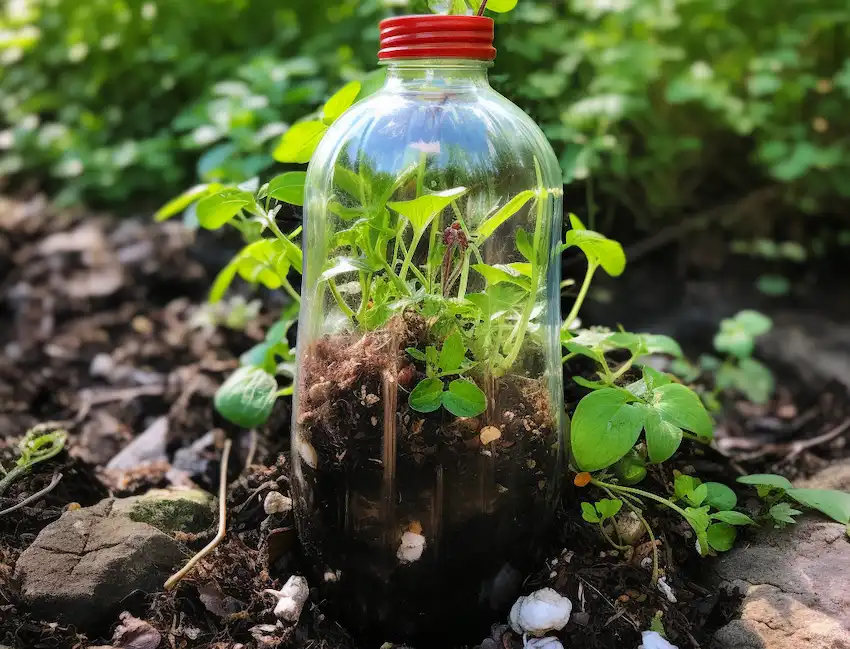
Transform a simple plastic bottle into a small, efficient composting ecosystem with this DIY project that is both easy and environmentally friendly. Perfect for city dwellers, educators wanting to incorporate hands-on sustainability lessons in the classroom, or anyone looking to reduce their environmental footprint, bottle composting is an excellent initiative to begin with.
Materials Needed:
A large transparent plastic bottle (a 2-liter bottle works perfectly)
A sharp pair of scissors or a craft knife
Various organic waste (vegetable peels, fruit scraps, coffee grounds)
Shredded newspaper or any other carbon-rich material
A handful of soil (some garden soil is ideal)
A drill or any sharp object to make small drainage holes
Assembling Your Bottle Compost, Layer by Layer:
Prepare the Bottle: Thoroughly clean the bottle by removing all labels and glue residues. Cut off the top to create a wide opening, then pierce several small holes at the bottom to ensure proper drainage.
Layer 1 – Soil: Place a layer of soil at the bottom of the bottle to initiate the composting process with the microorganisms present in the earth.
Layer 2 – Green Waste: Add a layer of chopped vegetable and fruit scraps; the smaller the pieces, the faster they break down.
Layer 3 – Soil: Cover the scraps with a layer of soil to help reduce odors and speed up decomposition.
Layer 4 – Dry Leaves and Grass: Add dry leaves or dried grass clippings. These carbon-rich materials are essential to balance the compost.
Layer 5 – Soil: Add a third layer of soil, following the principle of alternating green and brown materials.
Layer 6 – Newspaper: Place a layer of shredded newspaper, which will absorb excess moisture while providing additional carbon.
Layer 7 – Green Waste: Repeat adding a layer of organic scraps to maintain a healthy balance between green and brown materials.
Layer 8 – Soil: Cover once more with soil to envelop the organic materials.
Layer 9 – Topsoil or Fertilizer: Finish with a layer of nutrient-rich topsoil or a thin layer of organic fertilizer to introduce extra nutrients and beneficial microorganisms.
How to Maintain Your Compost:
Moisture: Regularly monitor the moisture level; the mixture should be damp like a wrung-out sponge—neither too dry nor soaking wet.
Aeration: Gently shake or stir the contents weekly to oxygenate the compost, which is vital for the breakdown of materials.
Location: Place the bottle in a warm spot, protected from direct sunlight.
Patience: The Key to Success
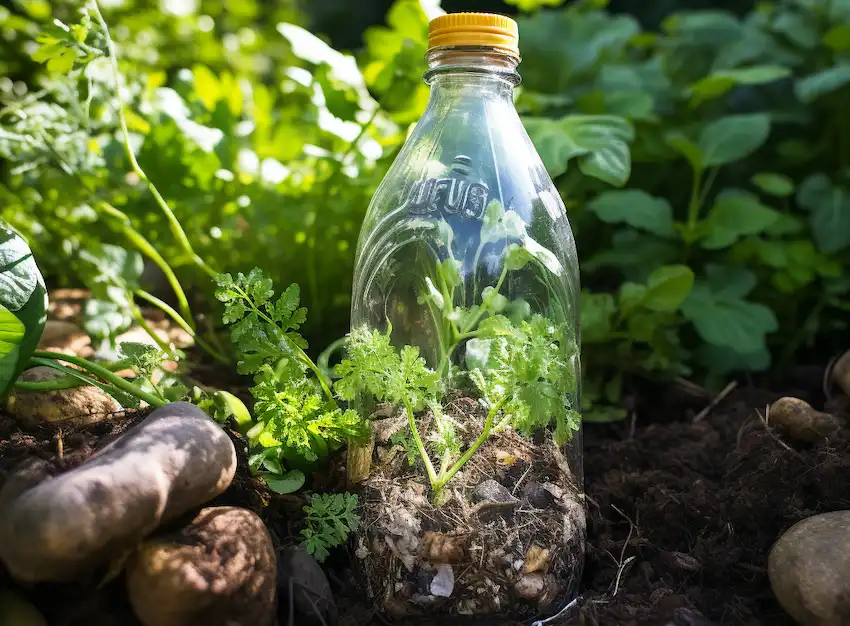
Composting is a gradual process; it will take several months for the materials to fully decompose into high-quality compost.
When the bottom layers have transformed into a dark, crumbly compost, you can harvest it and use it to enrich your garden soil.
Bottle composting is a microcosm of the natural cycle of organic matter recycling. It serves both as a valuable educational tool and a practical solution to reduce your waste. By following these simple steps, you will help cut down your waste production while creating a fertile amendment for your plants. Start this journey today and watch your waste turn into a true treasure for your garden!
